



 76767 08888

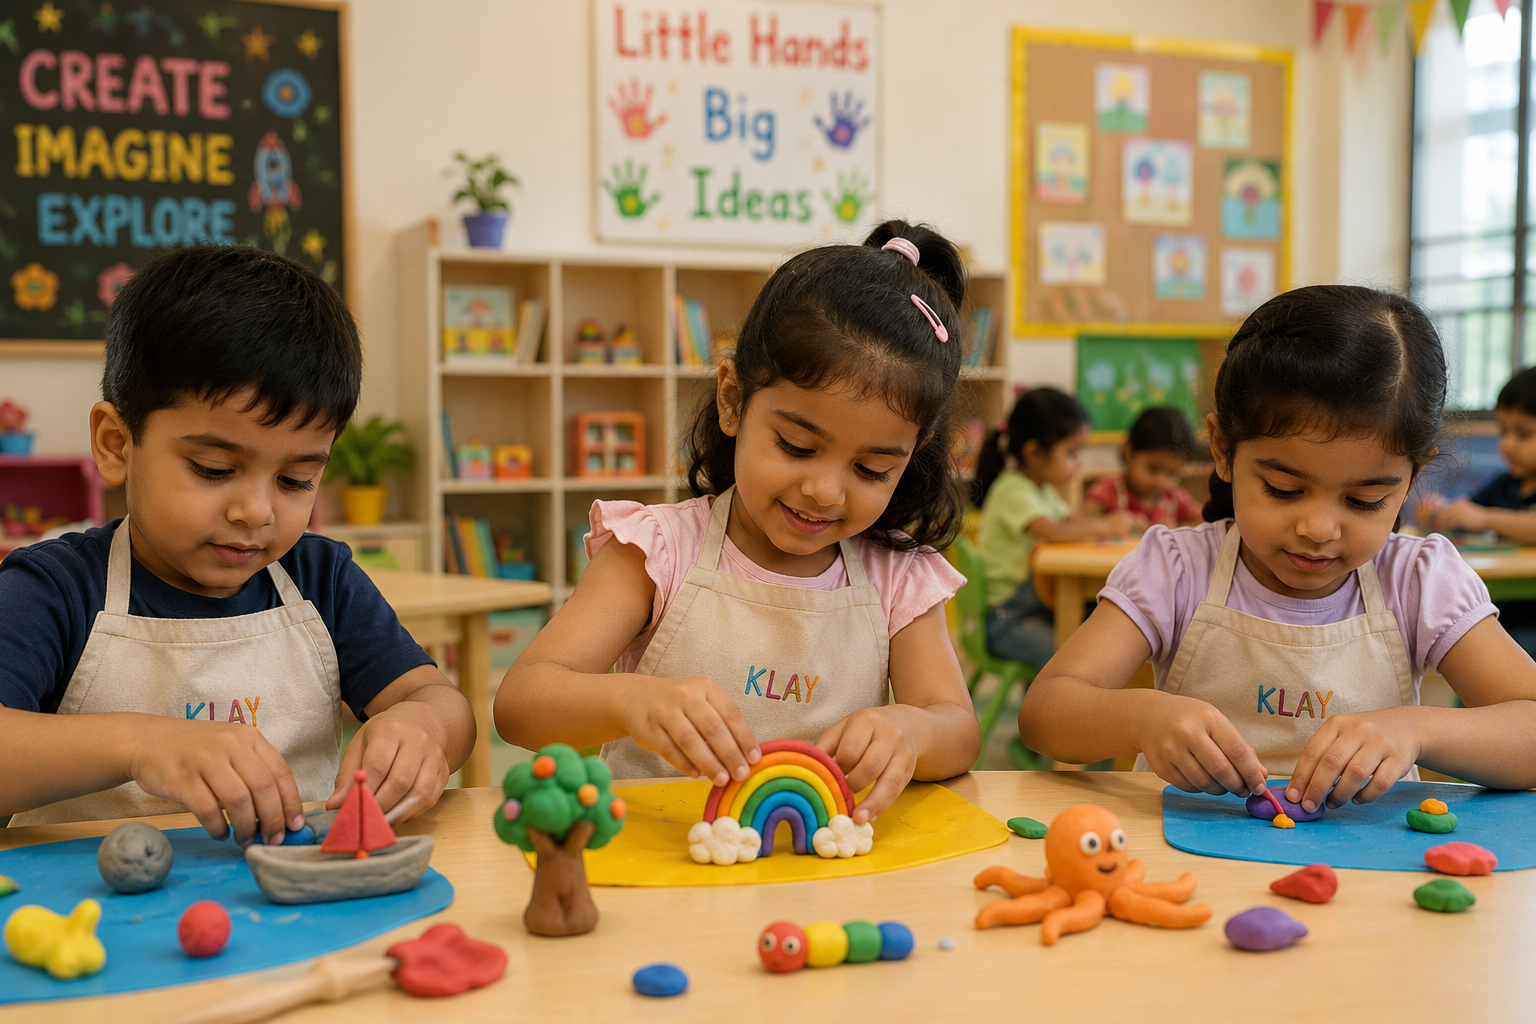


There is something special about watching a child turn a simple lump of clay into an animal, a flower, or even an imaginary creature straight from their imagination. Clay modelling is one of those activities that feels like play, but it quietly builds important skills along the way. In this blog, we will explore what clay modelling is, share plenty of easy clay modelling activities for preschoolers, and look at how these creative experiences support early childhood development.
What Is Clay Modelling?
Clay modelling is a creative activity where children shape, roll, press, pinch, and mould soft clay into different objects, animals, or everyday items. Unlike drawing or colouring, clay gives children something they can physically manipulate, allowing them to explore shapes and textures in three dimensions.
For preschoolers, the process is often more valuable than the finished creation. As they squeeze, flatten, twist, and reshape the clay, they build finger strength, improve coordination, and learn through trial and error. Some children may carefully recreate objects they see around them, while others let their imagination lead the way. Both approaches encourage creativity and problem solving in different ways.
The best part is that clay modelling does not require expensive materials or artistic experience. A few colours of soft modelling clay and a little imagination are often all children need to get started.
Clay Modelling Activities for Preschoolers
a. Nature & Animal Clay Activities
Nature is full of interesting shapes, colours, and textures. These simple clay activities encourage preschoolers to observe the world around them while having fun creating animals, insects, and weather inspired models.
1. Clay Animals
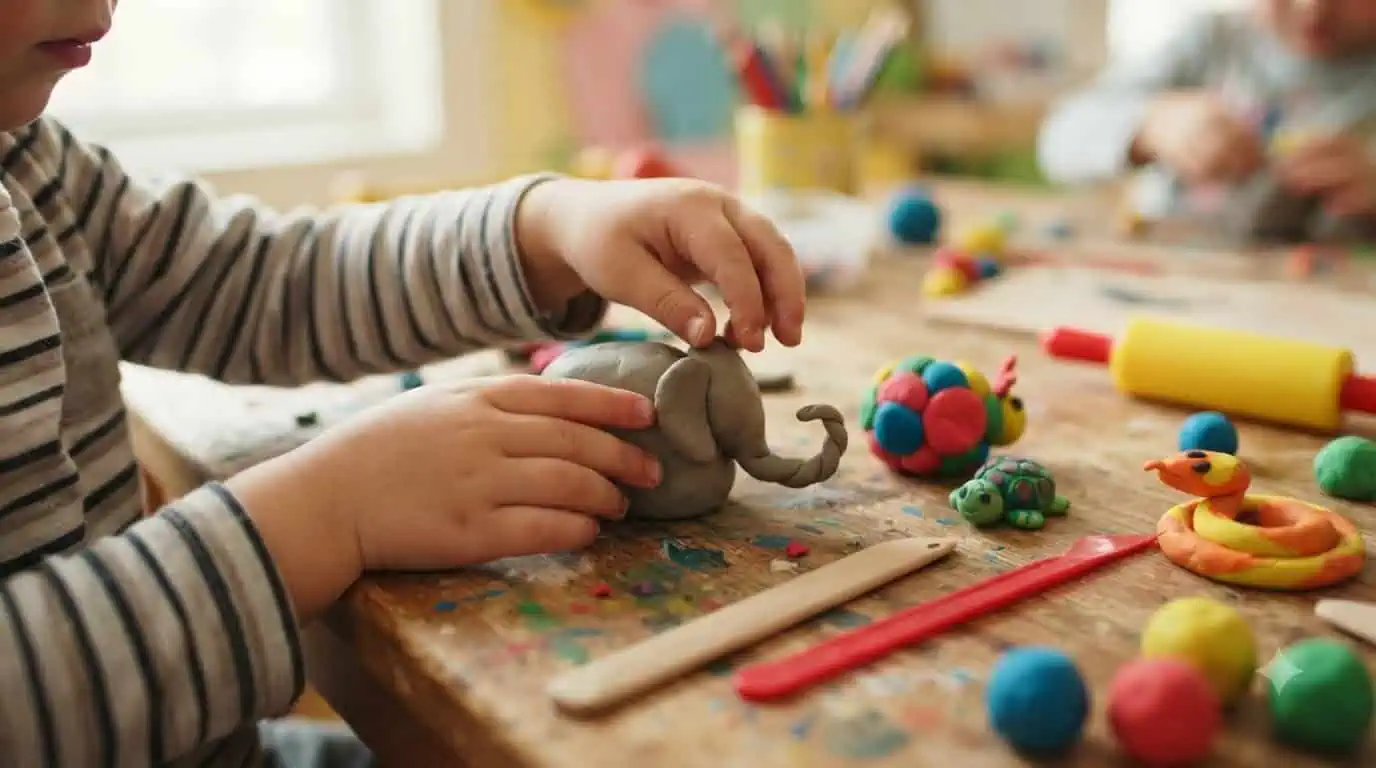
What it is: Children create simple animal figures such as elephants, lions, turtles, caterpillars, or even their favourite pets using basic clay shapes like balls, coils, and cones. Along the way, they begin noticing different animal features such as ears, tails, trunks, wings, and legs.
How to do it: Start by demonstrating how a ball can become a body or head, while rolled coils can become tails, trunks, or snake bodies. Encourage children to join different pieces together by gently pressing them instead of using force. Toothpicks, blunt sticks, or simple modelling tools can be used to add eyes, fur patterns, scales, or tiny footprints.
2. Clay Earthworm
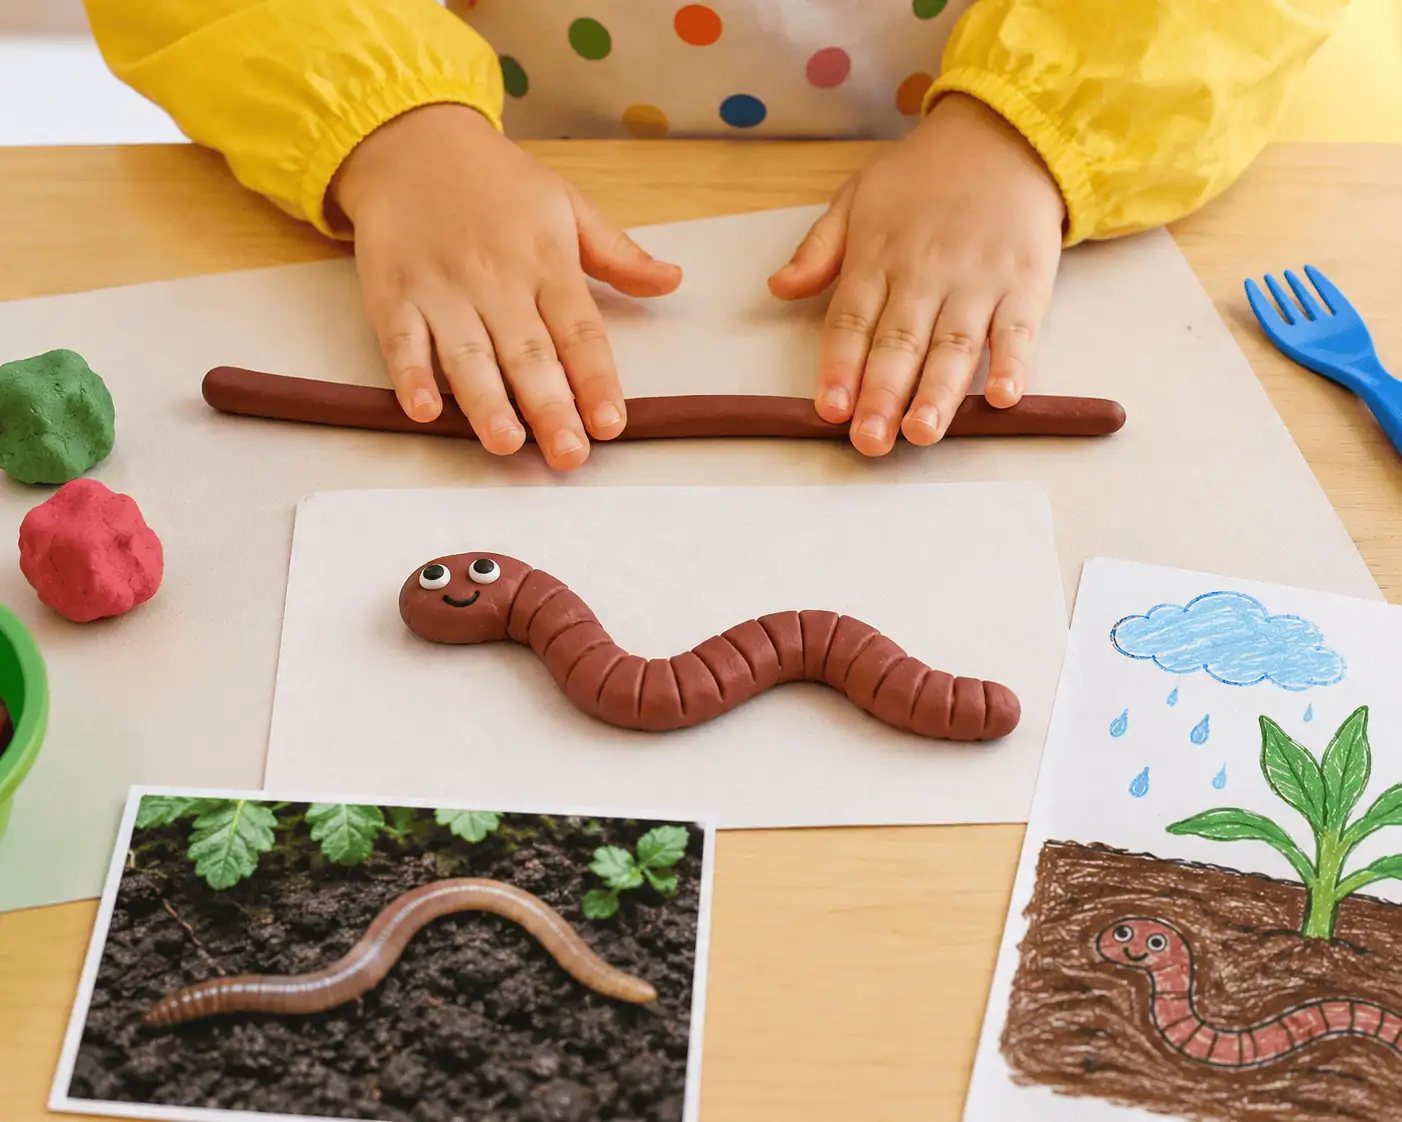
What it is: This activity transforms one long piece of clay into a friendly earthworm while introducing preschoolers to creatures they might find in gardens after the rain.
How to do it: Ask children to roll the clay back and forth using both palms until it forms a long, even coil. Once finished, they can bend it into loops or gentle curves before pressing small lines across the body using a fork or comb to create the earthworm’s segments. You can even pair the activity with a short conversation about soil, gardens, and why earthworms are helpful.
3. Leaf Impression Keepsakes
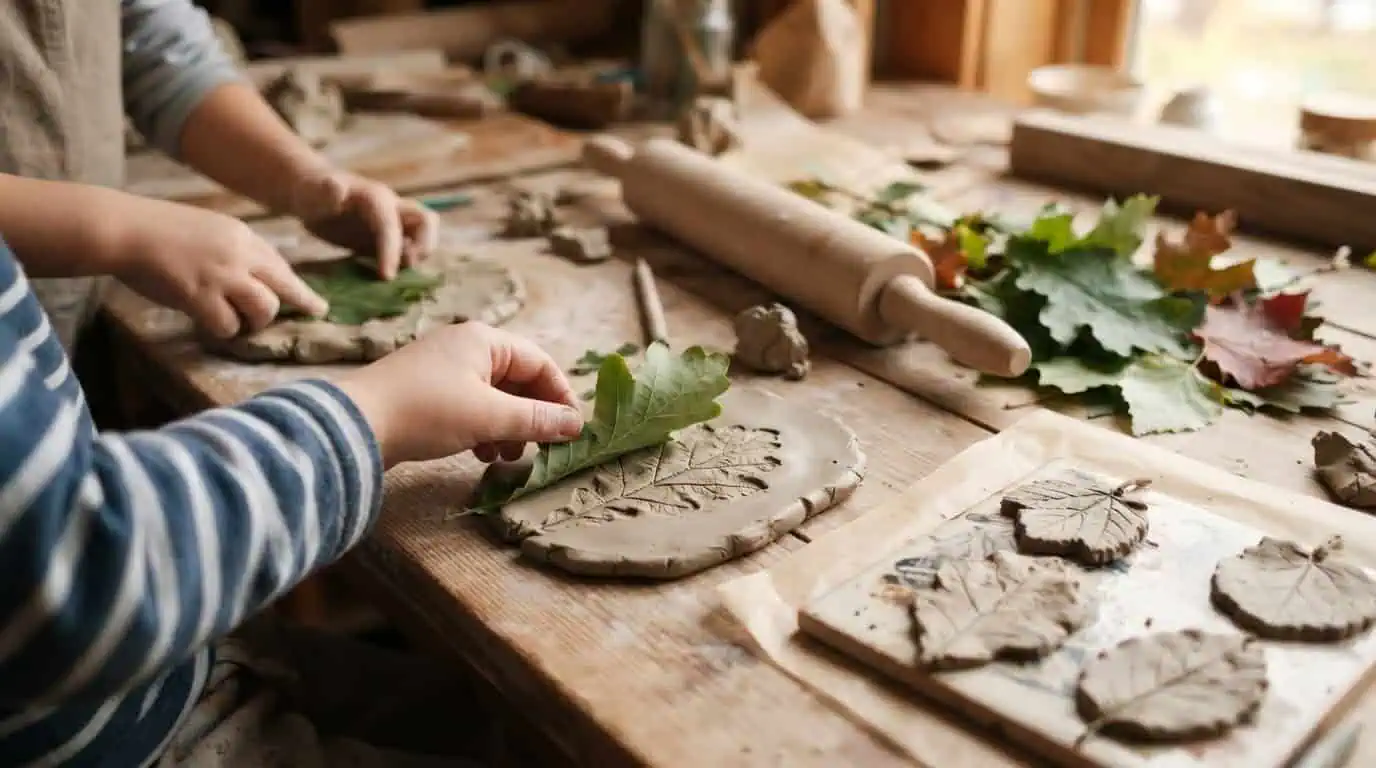
What it is: Instead of sculpting something from scratch, children use real leaves to create beautiful impressions on flattened clay. Every leaf creates a different pattern, making each keepsake unique.
How to do it: Take children outdoors to collect a few interesting leaves of different shapes and sizes. Flatten a piece of clay using a rolling pin or by pressing it gently with their hands. Place the leaf on top and press lightly before lifting it away. The veins and textures remain on the clay, creating a natural print. Older preschoolers can paint their dried creations later for an extra splash of colour.
4. Clay Rainbow and Clouds
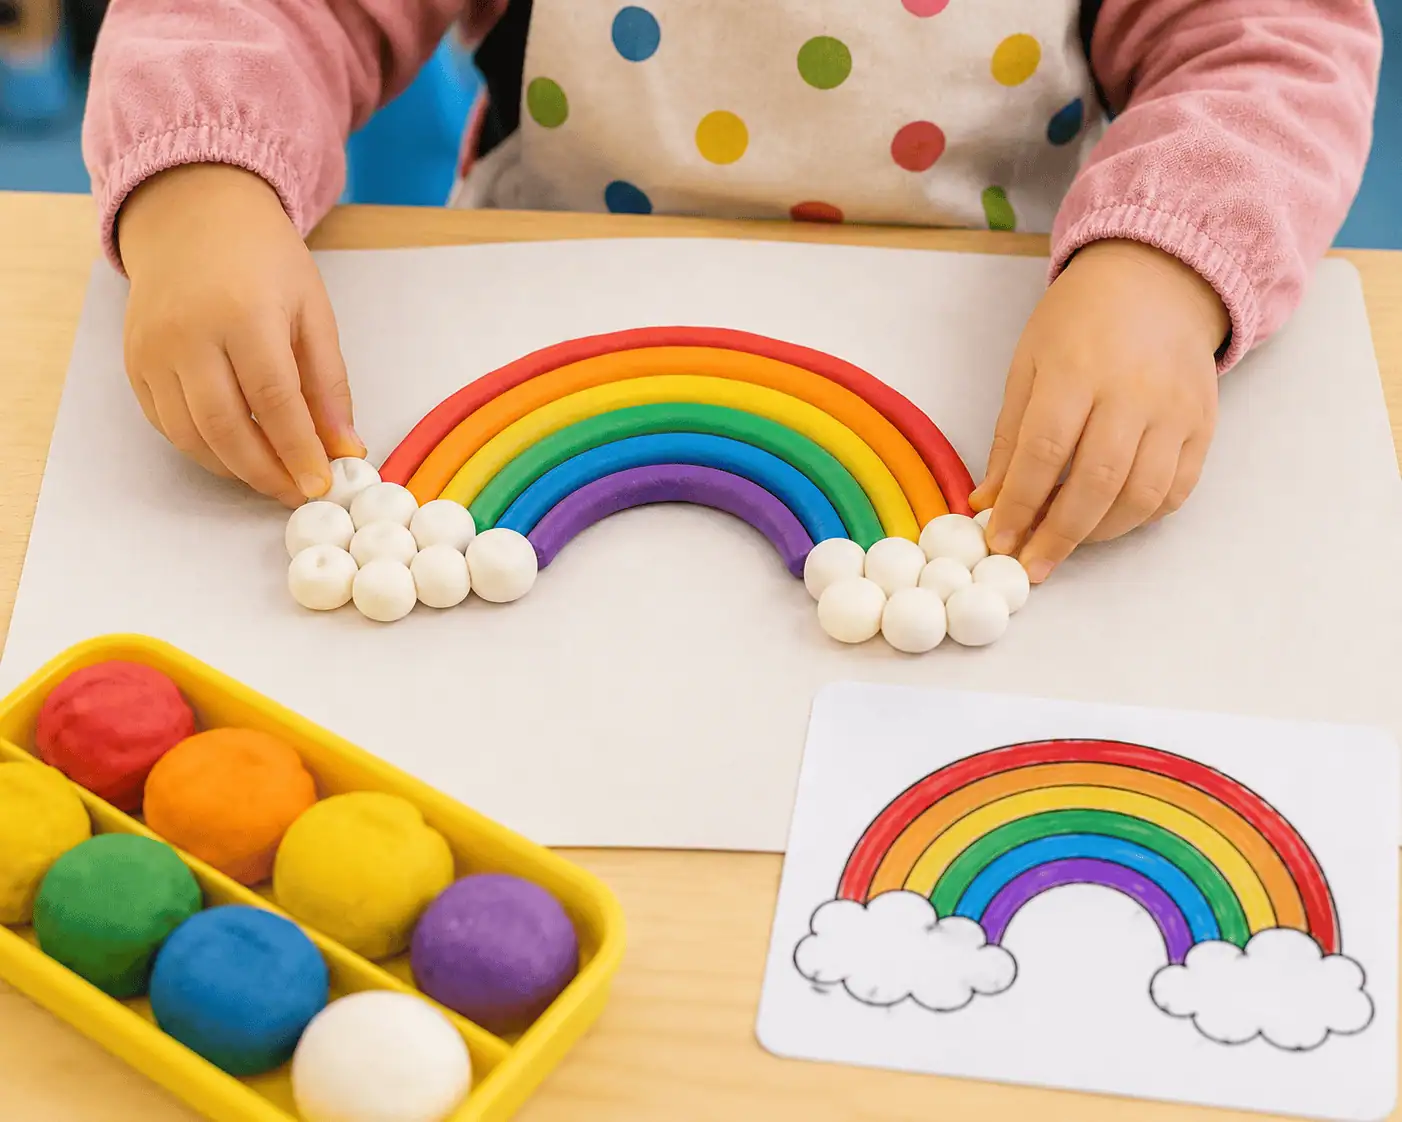
What it is: This colourful clay activity helps preschoolers learn colours while exploring weather concepts through hands-on play.
How to do it: Roll thin coils using different coloured clay and curve them into rainbow arches. Add fluffy white clouds at both ends by pressing together small white clay balls. As children build, encourage them to name each colour and talk about when rainbows appear in the sky.
5. Clay Ladybug or Butterfly
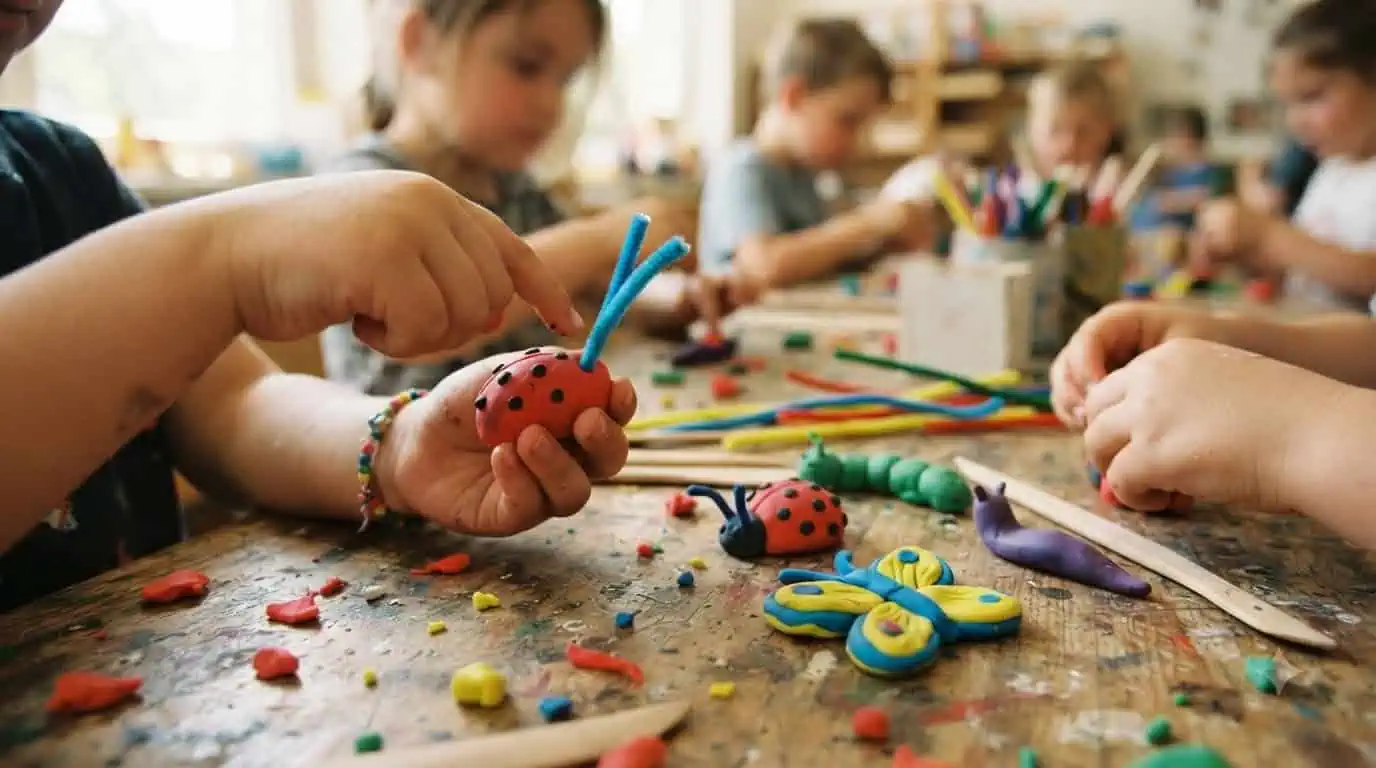
What it is: Children create simple insects using round clay shapes while learning about tiny creatures they often see in gardens and parks.
How to do it: For a ladybug, roll one large ball for the body and smaller black dots for the wings. For butterflies, flatten colourful clay into wing shapes before attaching a small body in the centre. Pipe cleaners or rolled clay can become antennae. Once complete, children can decorate their insects with spots, stripes, or colourful patterns.
6. Rain Cloud and Sun
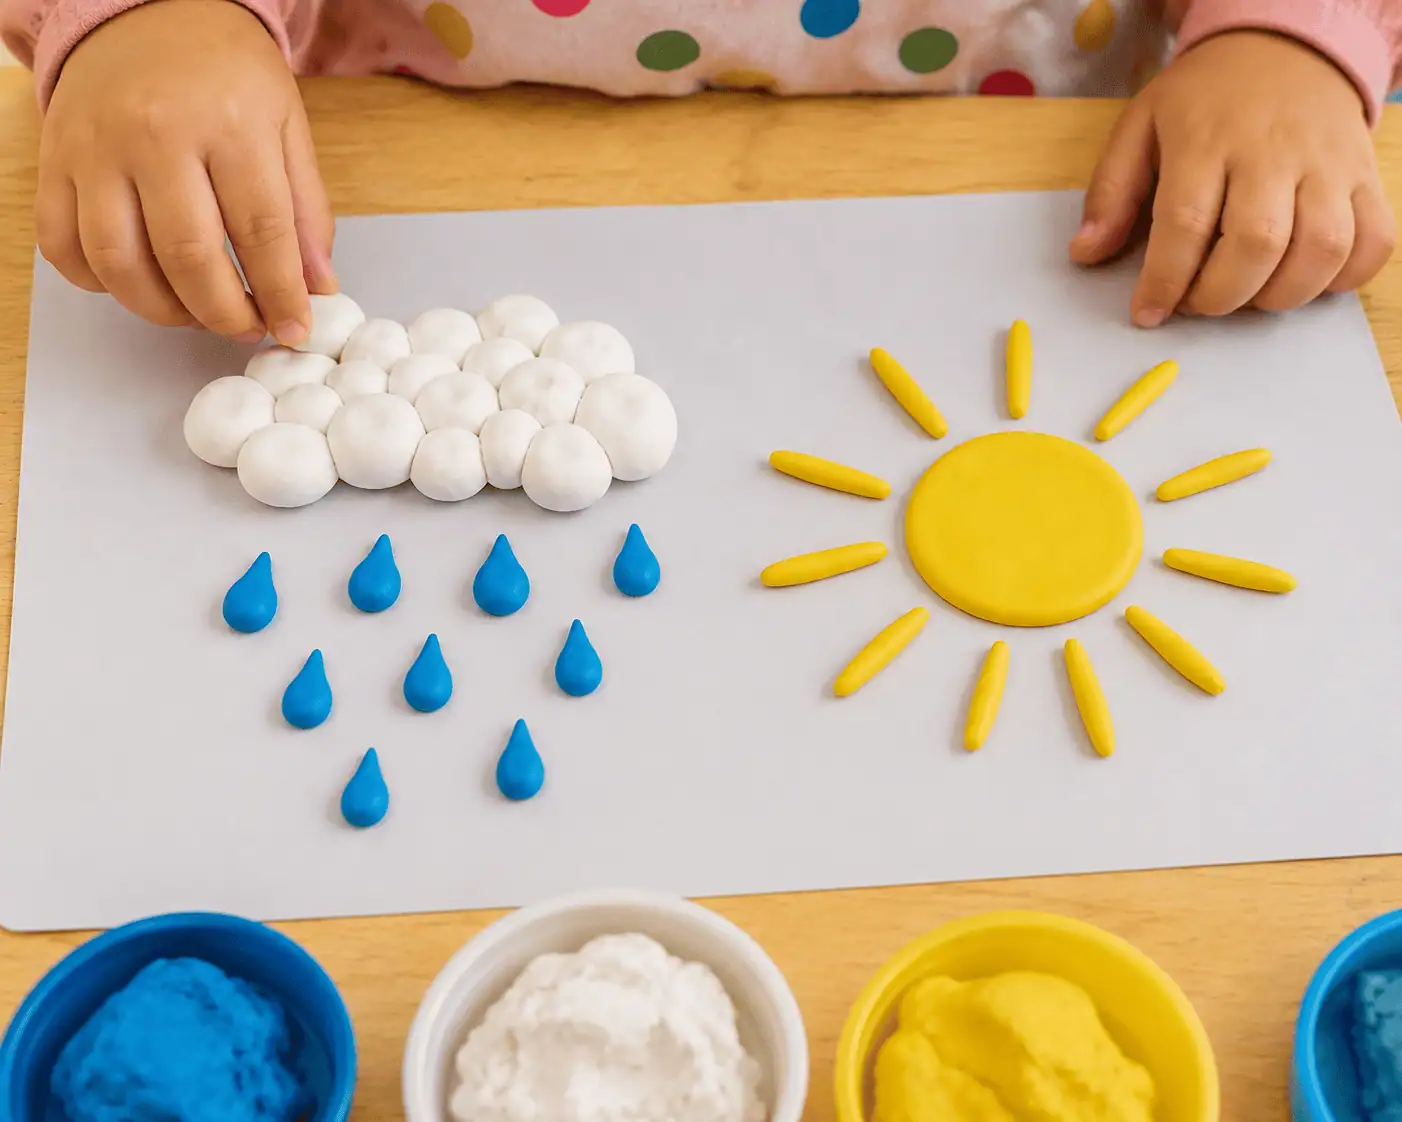
What it is: This weather themed activity helps preschoolers explore different types of weather while working with contrasting shapes like fluffy clouds and bright sunshine.
How to do it: Create clouds by joining several small white clay balls together. Flatten yellow clay into a circle for the sun before adding thin rolled rays around it. Blue clay drops can become raindrops hanging beneath the cloud. This activity also opens up simple conversations about rainy days, sunshine, and seasons.
b. Festive & Cultural Clay Activities
Festivals are full of colours, traditions, and meaningful symbols. Clay modelling gives preschoolers a fun way to explore these celebrations while creating something they can proudly display or take home.
7. Clay Flowers
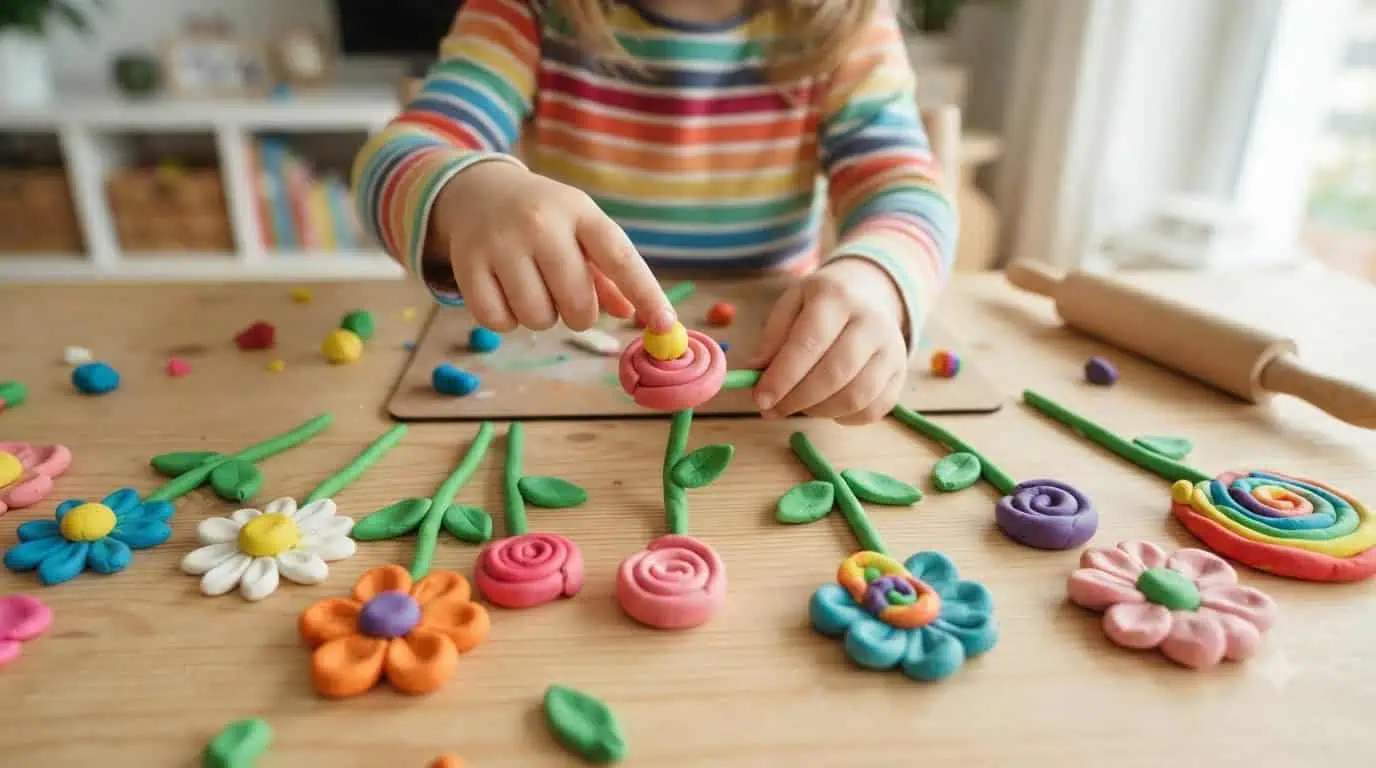
What it is: Flowers are one of the easiest clay projects for young children because they can be made using simple circles and petals. Children can create roses, daisies, sunflowers, or even colourful imaginary flowers.
How to do it: Roll small balls for the centre and flatten tiny pieces into petals. Arrange the petals around the middle before adding green leaves and stems. Encourage children to mix colours and create flowers that may not exist in nature. Creativity is part of the fun.
8. Diwali Clay Diyas
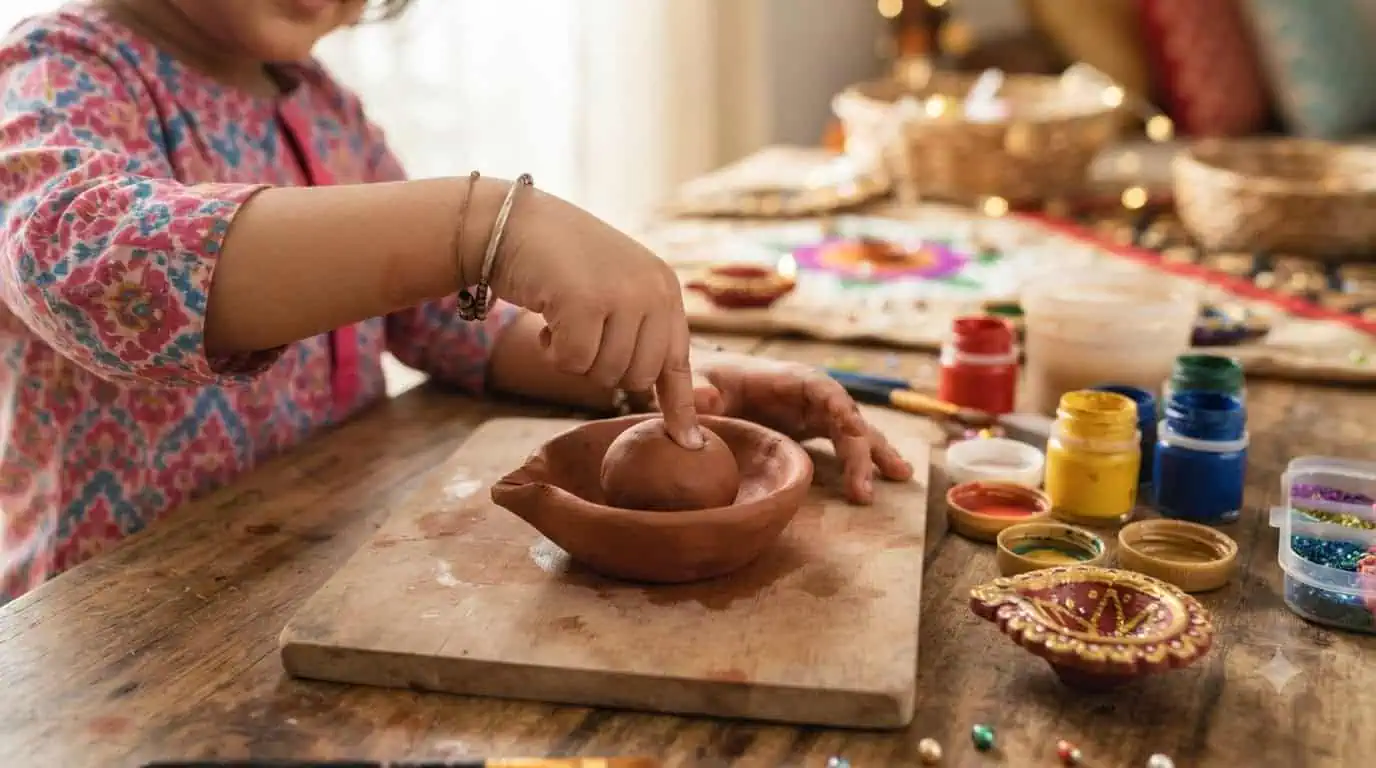
What it is: Making clay diyas introduces preschoolers to one of the most recognised symbols of Diwali while giving them a simple hand building activity.
How to do it: Start with a ball of clay and gently press the centre using the thumb to form a small bowl. Pinch one side to create the diya’s pointed edge. Once the clay dries, children can decorate it with bright paints, glitter, or simple patterns inspired by rangoli designs.
9. Clay Star Ornaments
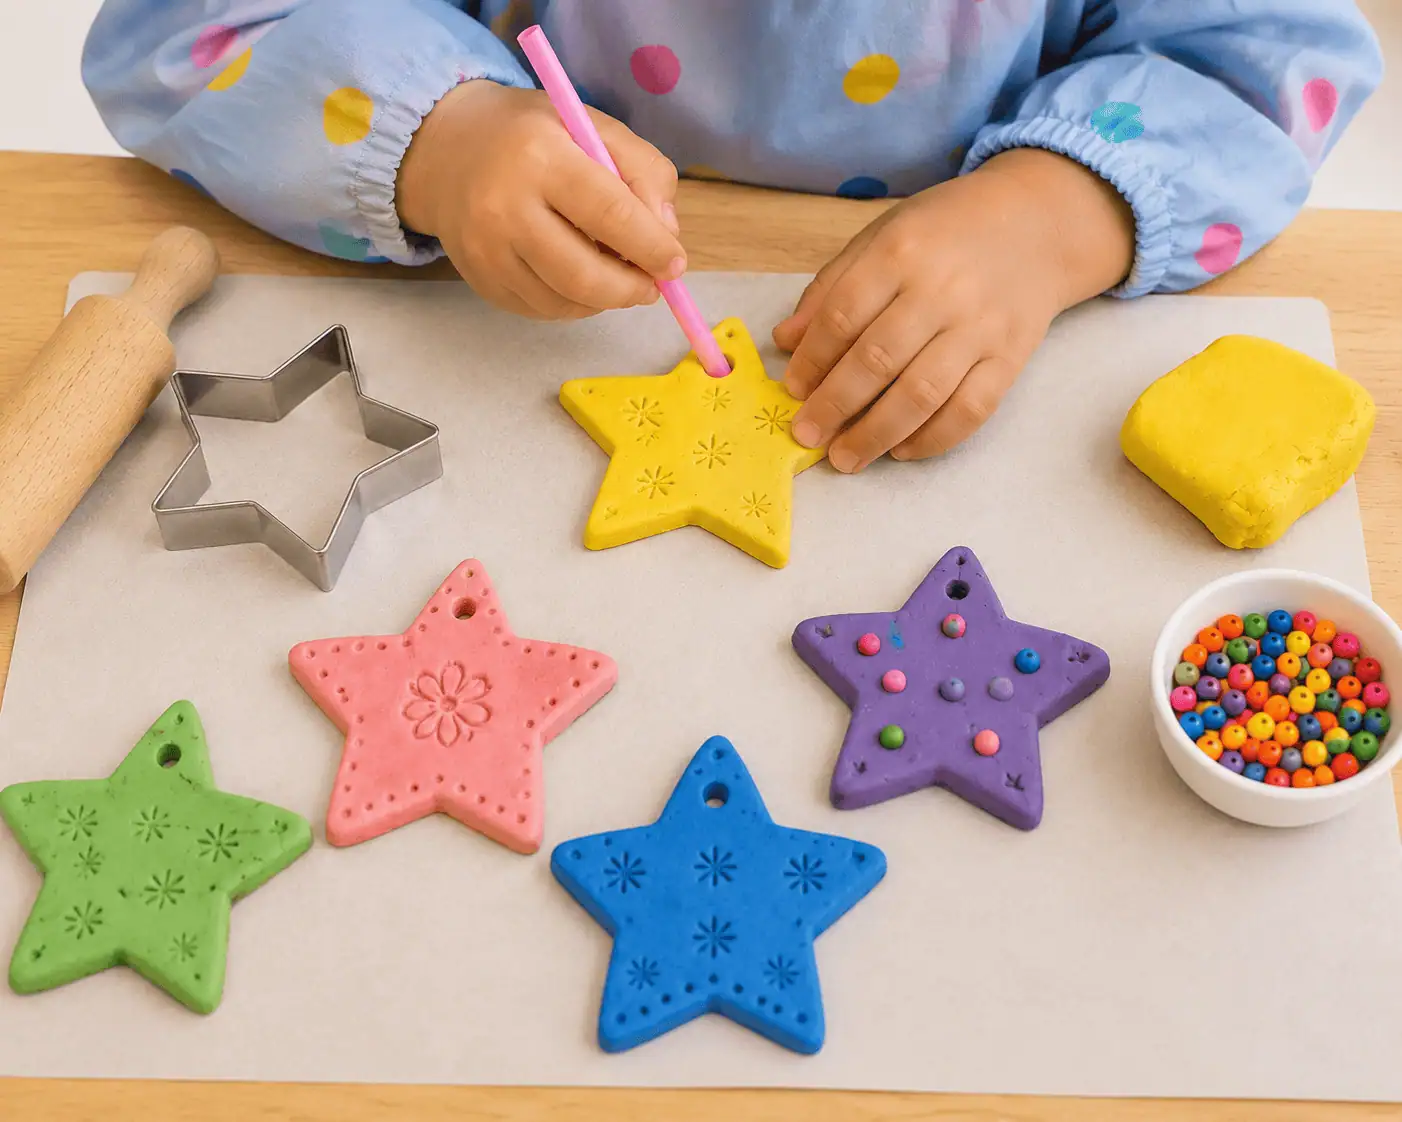
What it is: Children create decorative stars that can be displayed during classroom celebrations or festive occasions.
How to do it: Roll the clay flat before cutting out star shapes using cookie cutters or simple templates. Use a straw to create a small hole at the top if you plan to hang the ornament later. Children can decorate their stars with stamped patterns, beads, or tiny clay dots before leaving them to dry.
10. Clay Laddoos
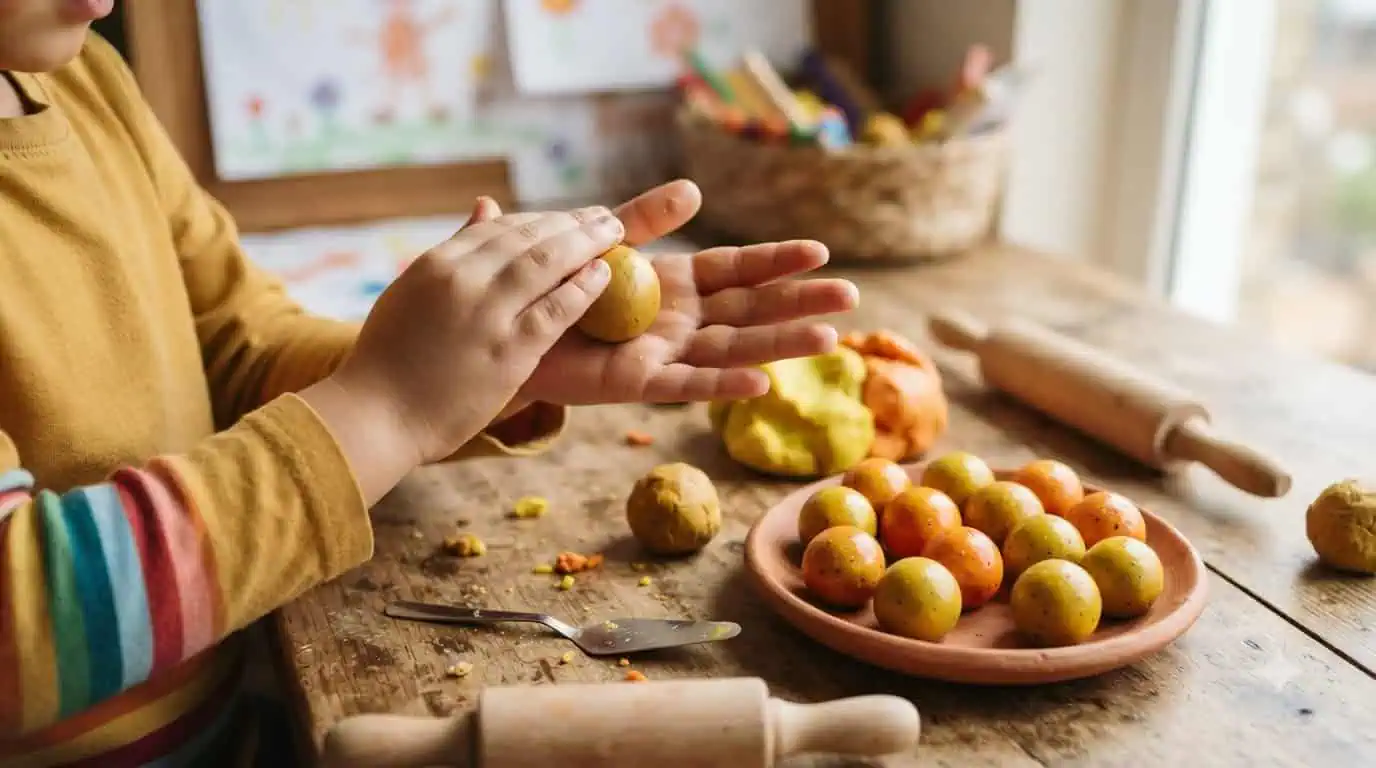
What it is: This playful pretend food activity introduces children to one of India’s most familiar sweets while encouraging role play and storytelling.
How to do it: Ask children to roll small clay balls until they are smooth and round. Different colours can represent different laddoo varieties. Arrange them on a clay plate or inside a pretend sweet box and encourage children to serve them during pretend celebrations.
c. Pretend Play & Everyday Life
Young children naturally enjoy pretending. These clay activities allow them to recreate everyday objects while adding plenty of imagination along the way.
11. Clay Cone Ice Creams
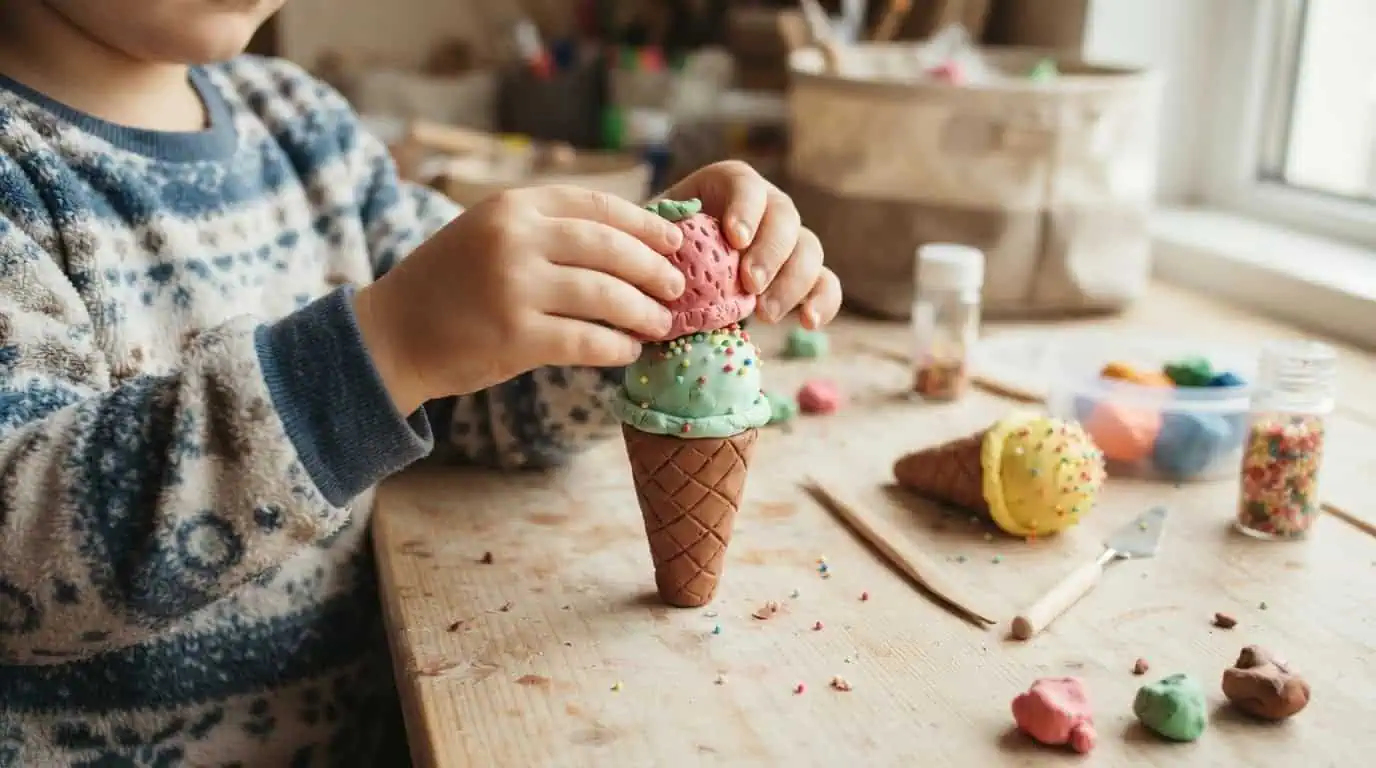
What it is: Ice cream is something almost every preschooler gets excited about, which makes this activity an easy way to encourage imaginative play. Children can mix colours, create different flavours, and even pretend to run their own little ice cream shop.
How to do it: Roll brown clay into a cone shape. Next, make one or two scoops using coloured clay and gently place them on top. Encourage children to invent flavours like rainbow ice cream, chocolate strawberry, or even dinosaur ice cream. They can finish by adding tiny sprinkles or a cherry using small pieces of clay.
12. Creative Cookie Cutter Creations
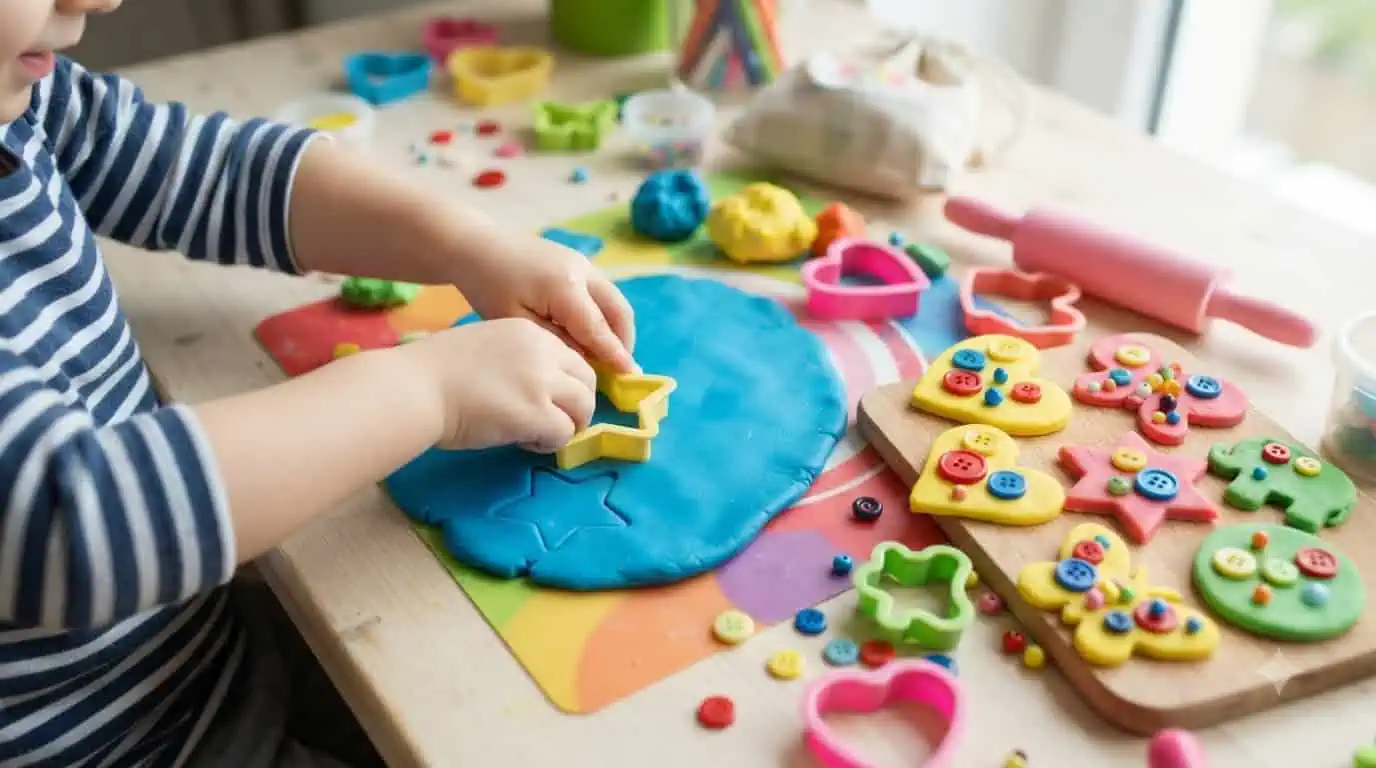
What it is: Cookie cutters turn a simple piece of clay into endless possibilities. Hearts, stars, animals, flowers, and many other shapes become instant starting points for creative projects.
How to do it: Flatten the clay with your hands or a rolling pin. Press cookie cutters firmly into the surface to create different shapes. Children can leave them as they are or decorate each one with buttons, beads, stamps, or textured patterns using everyday objects around the classroom or home.
13. Cone Creamy Desserts
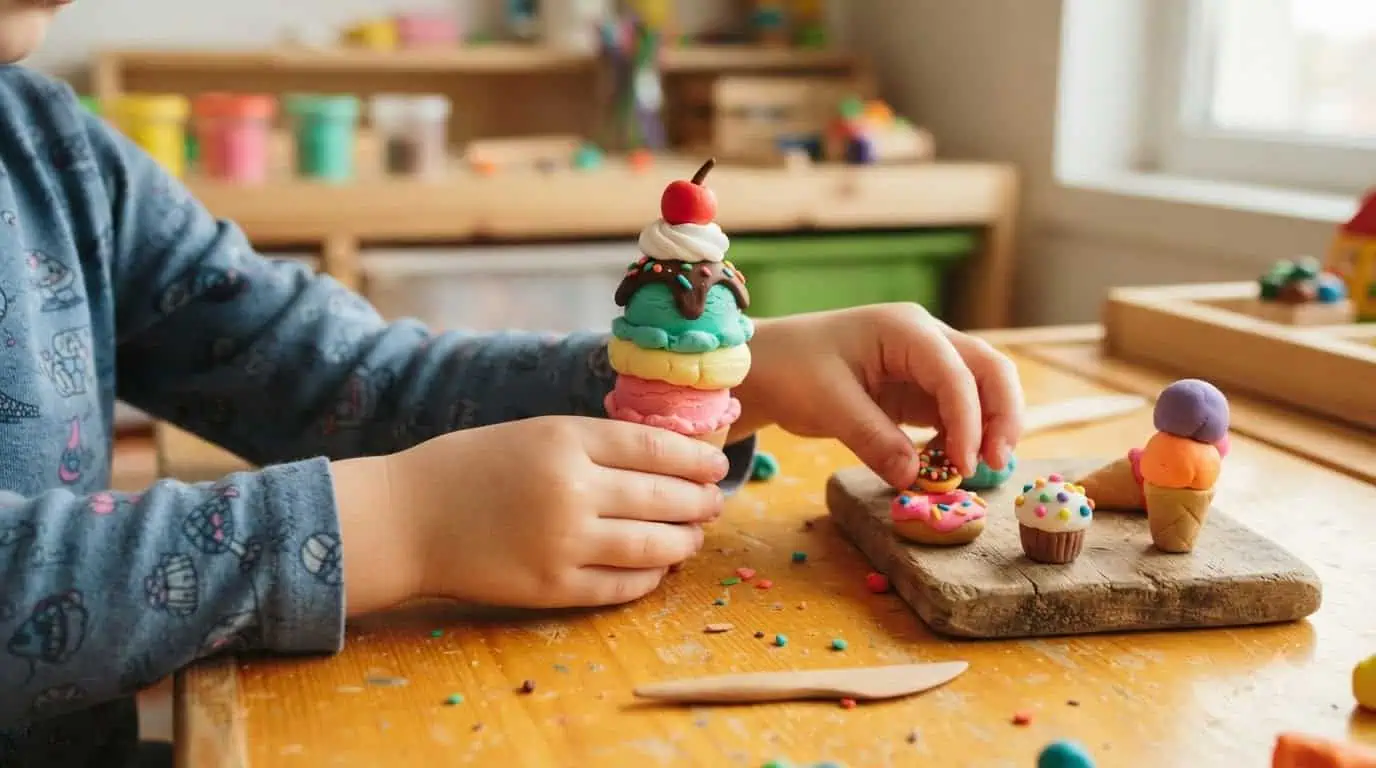
What it is: Beyond ice cream, children love pretending to make desserts. This activity encourages role play while giving them the freedom to decorate their creations however they like.
How to do it: Ask your child to build a dessert using layers of clay. They can make cupcakes, sundaes, puddings, doughnuts, or fancy parfaits. Add pretend whipped cream, fruit toppings, chocolate chips, or colourful decorations. Once everyone finishes, let the children “serve” their desserts in a pretend bakery or café.
14. Clay Emotion Faces
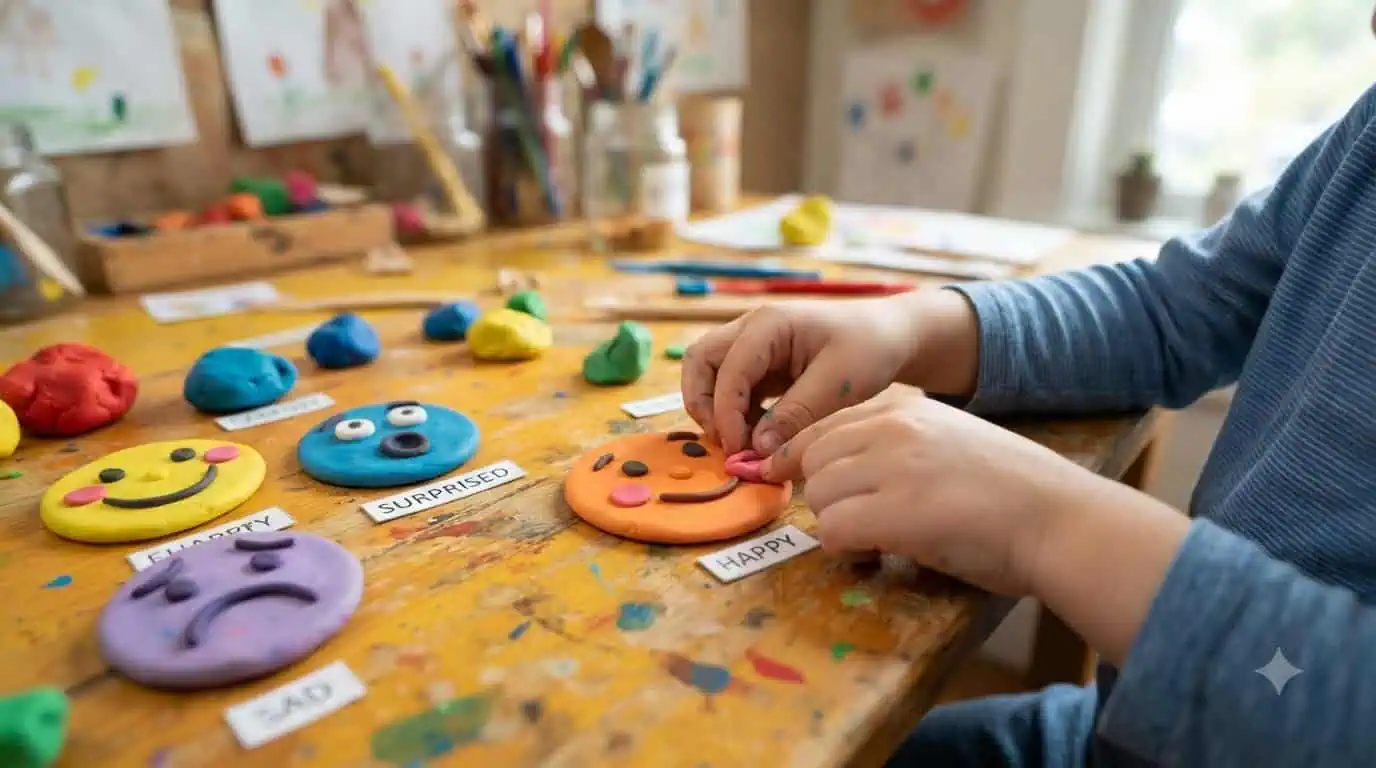
What it is: Recognising emotions is an important part of social and emotional learning. Clay makes these conversations feel playful rather than instructional.
How to do it: Create several round faces using flattened balls of clay. Change the facial expressions by moving the eyebrows, eyes, and mouth. Make a happy face, a surprised face, a sleepy face, an excited face, or even a worried one. As children work, ask questions like, “When do you feel happy?” or “What makes someone feel surprised?” This naturally encourages conversation about emotions.
d. Learning & Skill Based Clay Activities
Clay modelling can also become part of early learning. These activities help preschoolers recognise letters, numbers, shapes, and everyday objects while keeping the experience playful.
15. Mini Clay Fruits and Vegetables
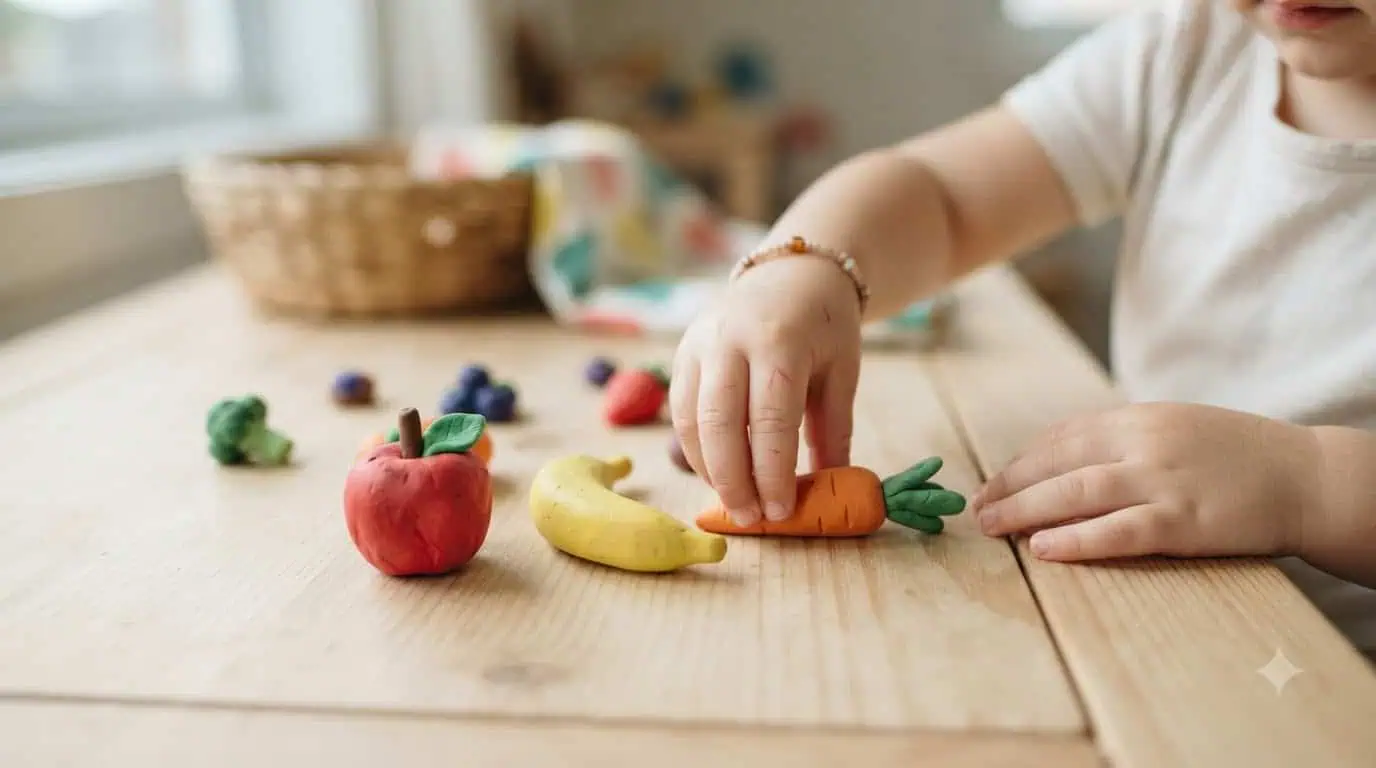
What it is: Children recreate familiar fruits and vegetables using clay. Apples, bananas, carrots, pumpkins, and tomatoes are all great starting points. As they build each item, they also become more familiar with healthy foods.
How to do it: Show children pictures or real fruits and vegetables for inspiration. Encourage them to notice simple shapes before recreating them with clay. Once everyone has finished, sort the creations into fruit and vegetable groups or use them for pretend grocery shopping.
16. Clay Beads and Simple Jewellery
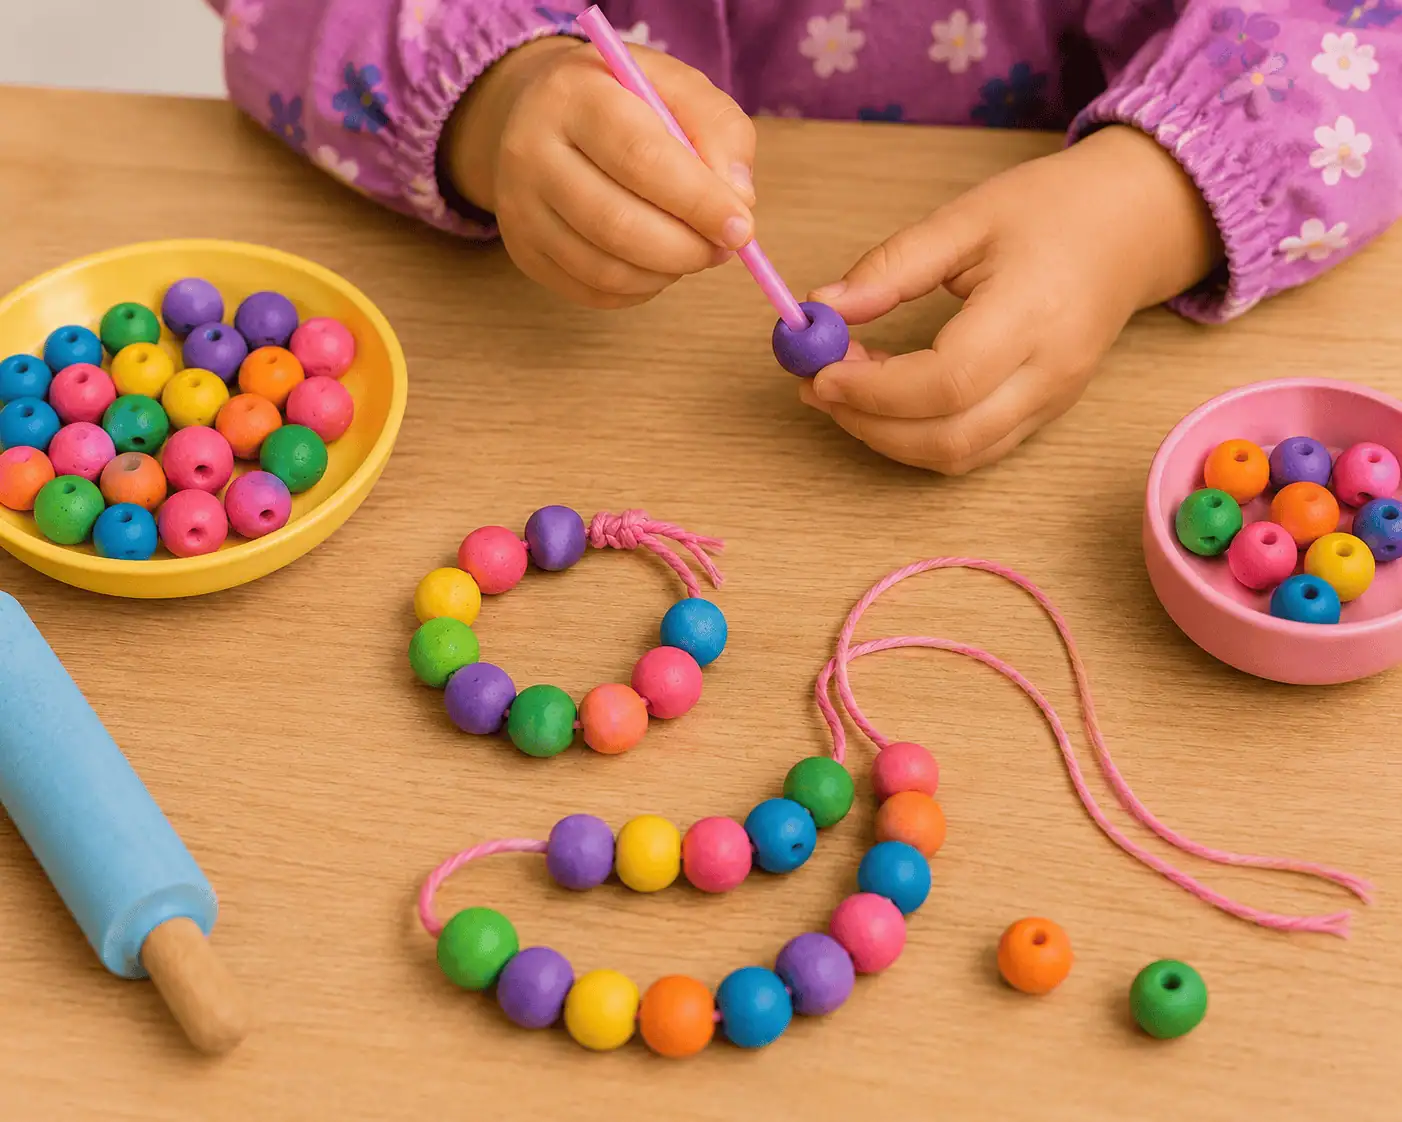
What it is: This activity lets preschoolers make colourful clay beads that can later become bracelets, necklaces, or simple decorative strings.
How to do it: Roll small balls of clay and carefully poke a hole through each one using a straw or blunt stick. Once the beads have dried, thread them onto string or yarn to create wearable jewellery. Children enjoy choosing colours and creating their own patterns.
17. Fridge Magnets
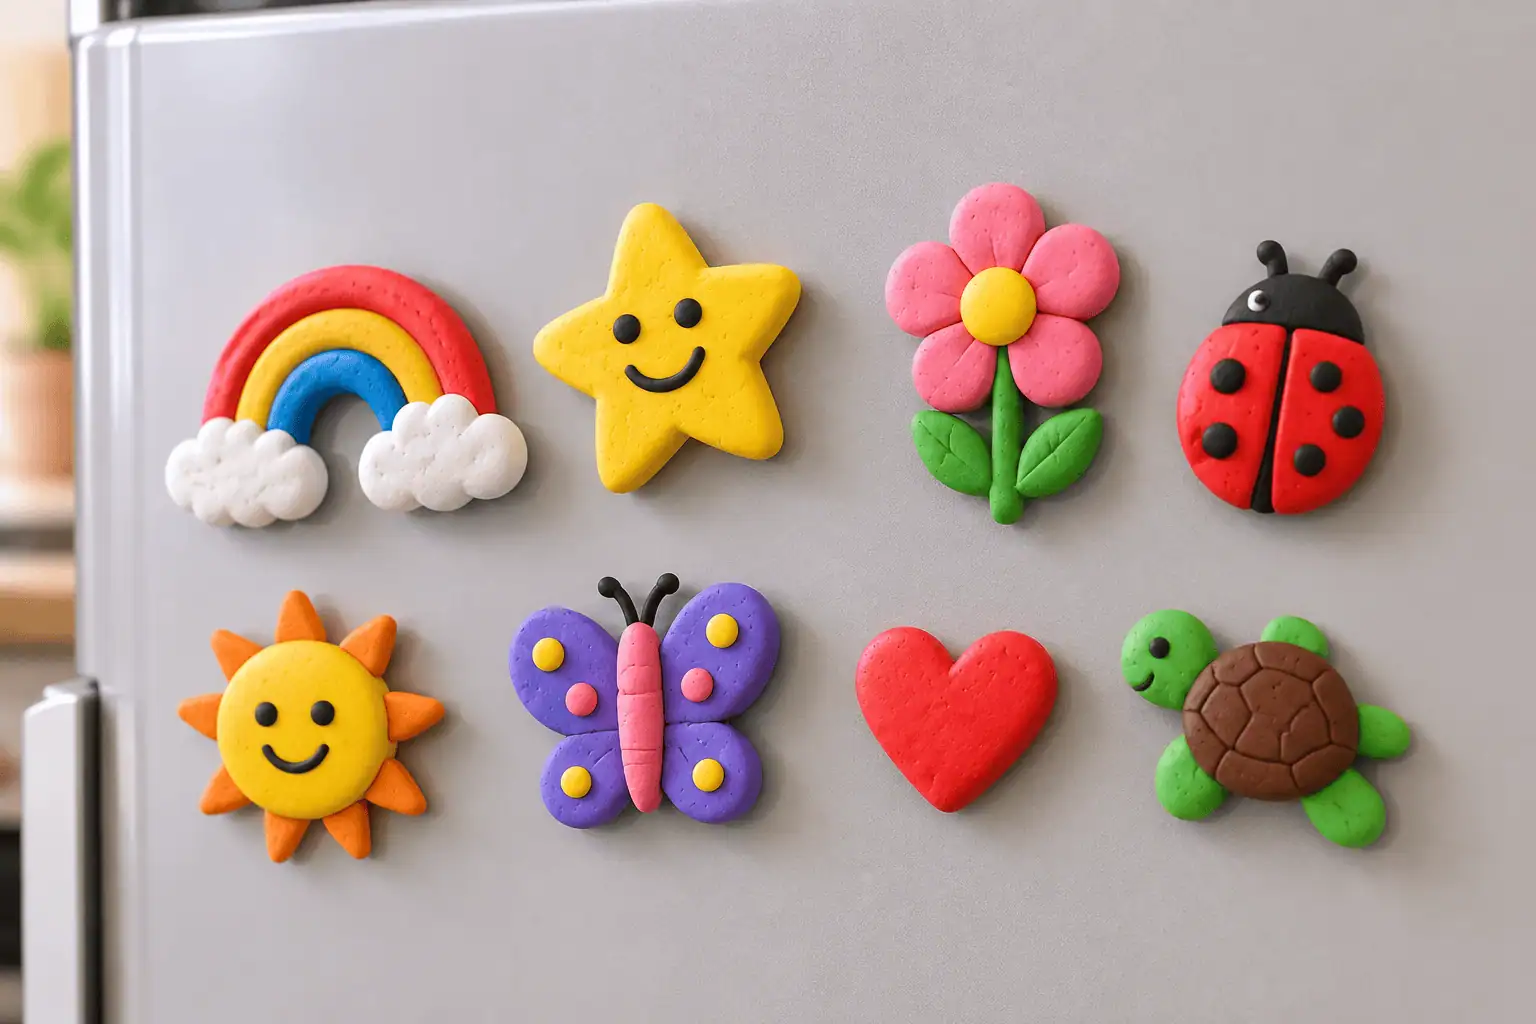
What it is: Instead of creating something temporary, children make small clay decorations that can later be displayed at home.
How to do it: Invite children to create simple shapes like hearts, flowers, stars, animals, or smiley faces. Once the clay has dried, glue a small magnet to the back. Their artwork becomes a keepsake that families can use every day.
18. Clay Shapes and Numbers
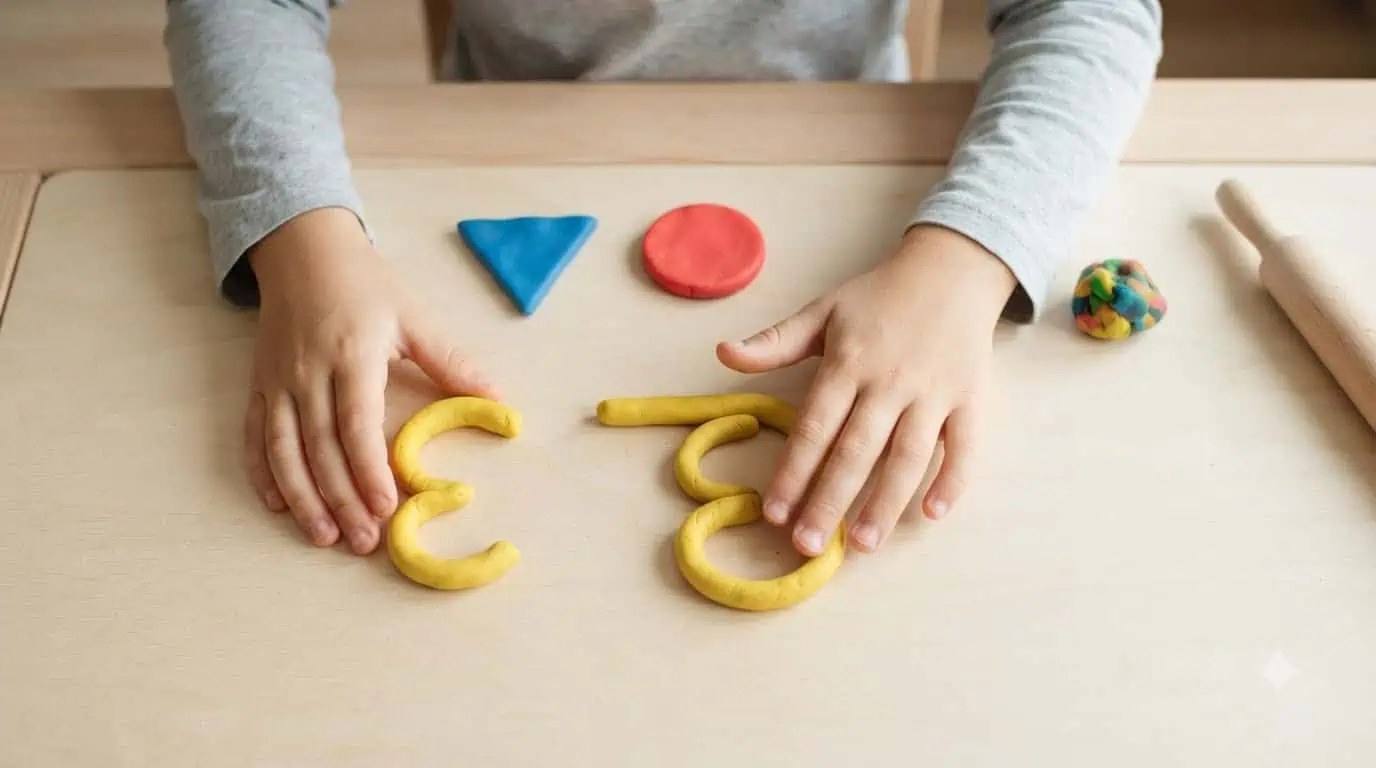
What it is: Learning numbers and basic shapes becomes much more interactive when children build them with their hands instead of only looking at pictures.
How to do it: Ask children to roll clay into long coils before bending them into numbers or simple shapes like circles, triangles, squares, and rectangles. You can turn this into a matching game by asking them to find objects in the classroom with the same shape.
19. Mosaic Pinch Pots
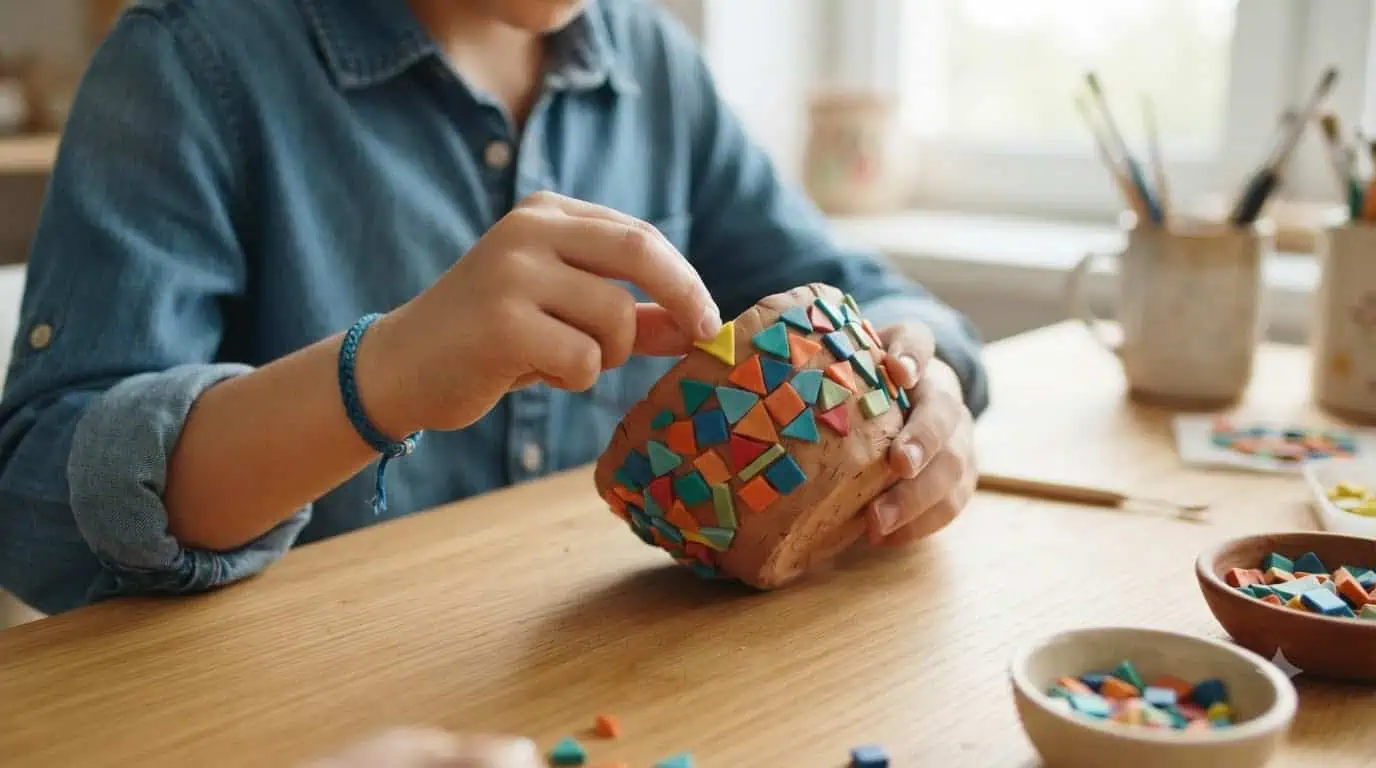
What it is: A pinch pot is one of the first clay projects many children learn. Adding colourful clay pieces turns it into a beautiful mosaic design.
How to do it: Start with a ball of clay and gently press your thumb into the centre while slowly rotating the clay to form a small bowl. Once the shape is ready, children can decorate the outside using tiny pieces of coloured clay arranged like a mosaic.
20. Alphabet Moulding
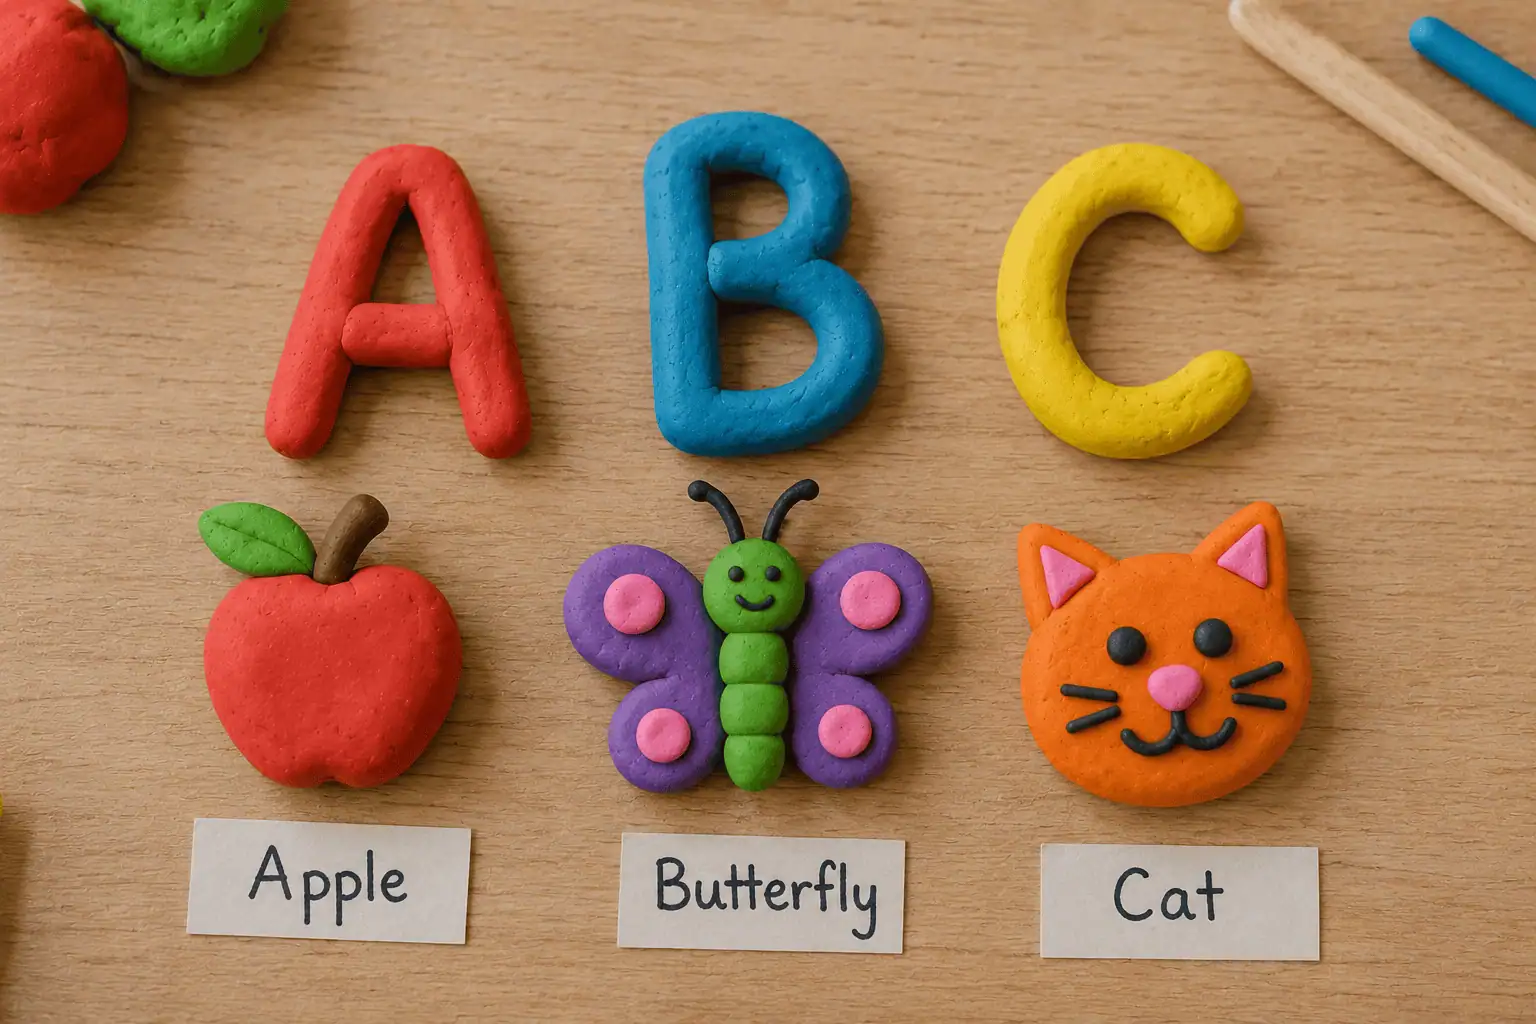
What it is: Letters become much easier to remember when children can build them with their own hands.
How to do it: Roll long clay coils and shape them into uppercase or lowercase letters. Begin with the letters in each child’s name before gradually introducing the rest of the alphabet. You can even ask children to make simple objects that begin with the letter they create.
21. Easy Coil Pots
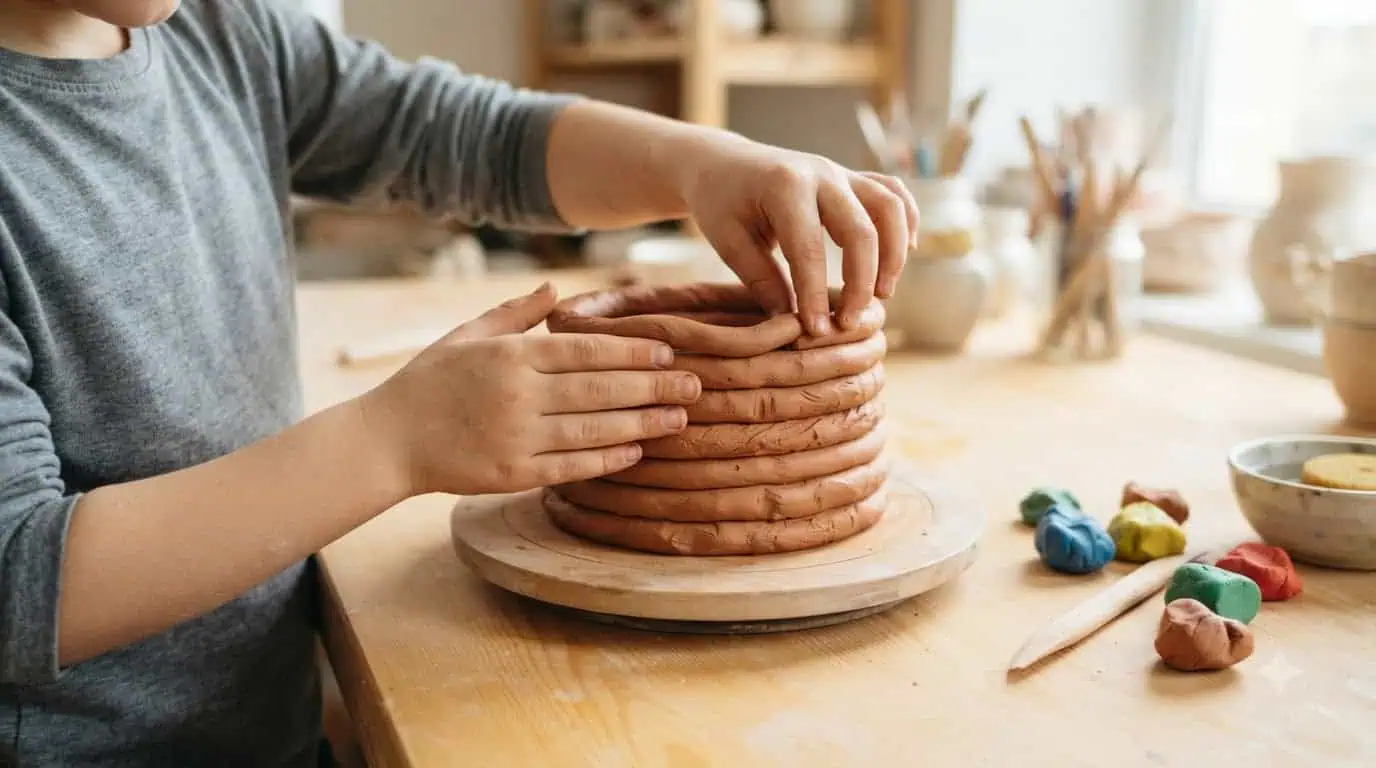
What it is: Coil pots introduce preschoolers to one of the oldest clay building techniques while giving them the satisfaction of creating something useful.
How to do it: Roll several long clay coils and place them one above another in a circular pattern. Press each layer gently to help the pot stay together. Children can smooth the sides or leave the coils visible for a handmade look before decorating the finished pot.
Why Is Clay Modelling Important in Early Childhood Development?
Clay modelling may look like simple play, but every squeeze, roll, and pinch supports a child’s overall development. Here are some of the ways it benefits preschoolers.
1. Stimulates Brain Activity
Working with clay encourages children to think, observe, and make decisions. As they imagine what they want to create and figure out how to build it, they strengthen important thinking and problem-solving skills.
2. Improves Hand Eye Coordination
Children constantly use their eyes and hands together while rolling clay, joining pieces, or adding tiny details. Over time, these repeated movements improve coordination that later supports writing, drawing, and everyday tasks.
3. Strengthens Fine Motor Skills
Pinching, pressing, flattening, and rolling clay are excellent fine motor skills activities that help develop the small muscles in children’s fingers and hands. These muscles are essential for holding pencils, using scissors, buttoning clothes, and many other daily activities.
4. Encourages Learning Through Trial and Error
Not every clay model turns out as planned, and that is perfectly fine. Children quickly learn that they can reshape, rebuild, and try again. This helps them become more comfortable with mistakes and builds resilience.
5. Supports Sensory Development
Clay offers a rich sensory experience. Children notice its softness, texture, temperature, and resistance while working with it. These sensory experiences help them better understand the world around them.
6. Builds Attention Span
Creating something from start to finish takes patience. As preschoolers stay focused on completing a project, they gradually develop the ability to concentrate for longer periods.
7. Encourages Emotional Expression
Some children express their feelings more easily through creative activities than through words. Clay gives them a safe way to explore emotions by creating faces, characters, or imaginative scenes.
8. Inspires Imaginative Play
One day a piece of clay becomes a dinosaur. The next day it becomes a birthday cake or a rocket ship. Clay encourages open ended play where children’s imagination takes the lead.
Essential Clay Modelling Techniques to Try
Children do not need advanced sculpting skills to enjoy clay modelling. Starting with a few basic techniques gives them plenty of opportunities to create.
1. Pinching
Pinching is often the first technique preschoolers learn. Children gently pinch a ball of clay using their fingers and thumbs to create small bowls, cups, or simple sculptures.
2. Coiling
Rolling clay into long snake like coils opens up endless possibilities. Coils can become worms, ropes, baskets, rainbows, pots, or decorative borders.
3. Slab Construction
Flattening clay into sheets allows children to cut different shapes using cookie cutters or safe plastic knives. Slabs are useful for making ornaments, signs, or decorative tiles.
4. Texturing
Adding texture is often children’s favourite part. Everyday objects such as forks, combs, leaves, shells, bottle caps, or popsicle sticks can create interesting patterns that make every project look unique.
Tips for Parents and Educators
A few small changes can make clay modelling more enjoyable and less stressful for everyone involved.
- Choose soft, non-toxic clay or play-dough that is suitable for your child’s age.
- Set up a washable mat or tray before starting so children can explore freely without worrying about making a mess.
- Let children decide what they want to create instead of giving detailed instructions for every project.
- Join the activity yourself. Children often become more engaged when they see adults creating alongside them.
- Ask open ended questions like, “Tell me about what you’re making,” or “What happens next?” instead of guessing what the model is.
- Keep simple tools nearby, such as rolling pins, cookie cutters, forks, leaves, bottle caps, and popsicle sticks, to encourage experimentation.
- Celebrate effort rather than perfection. Every clay creation reflects a child’s imagination and growing confidence.
How Klay Brings Clay Modelling to Life
At KLAY Preschools and Daycare, creative activities like clay modelling are thoughtfully woven into the preschool experience to make learning more engaging and meaningful. Children get opportunities to experiment with different textures, build simple creations, celebrate festivals through themed projects, and explore their imagination in a supportive environment. Every activity is planned by experienced educators to encourage creativity, strengthen fine motor skills, and help children learn through hands on exploration while having fun.
Closing Thoughts
Clay modelling gives preschoolers the freedom to create without worrying about getting things perfect. A simple ball of clay can become almost anything their imagination allows, and every project helps build confidence, coordination, creativity, and curiosity along the way. Whether at home or in the classroom, regular clay activities offer children a fun way to learn while simply enjoying the process of making something with their own hands.
Frequently Asked Questions (FAQs)
What is a clay activity for kids?
A clay activity is any hands on project where children shape, roll, pinch, or mould soft clay into different objects. It encourages creativity while helping children strengthen fine motor skills, improve coordination, and explore textures through play.
What is modelling clay for kids?
Modelling clay is a soft, flexible material designed for sculpting and creative play. It is available in child friendly options such as play dough, air dry clay, and other non toxic modelling clays that are safe for preschool use.
At what age can children start making clay crafts?
Most children can begin simple clay activities around the age of two with close adult supervision. Younger children enjoy squeezing and exploring the clay, while older preschoolers can gradually move on to creating more detailed projects.
Which types of clay are best for children?
Soft modelling clay, air dry clay, and play dough are all excellent choices for young children. They are easy to shape, safe to handle, and suitable for a wide variety of preschool activities.
What is the learning objective of clay modelling?
Clay modelling supports several areas of early childhood development. It encourages creativity, problem solving, spatial awareness, fine motor development, concentration, and imaginative thinking while giving children opportunities to experiment and learn through hands on play.
How can you use clay with preschoolers?
Begin with simple activities such as rolling balls, making snakes, flattening clay, or pressing objects into the surface to create patterns. Everyday items like leaves, forks, bottle caps, shells, and popsicle sticks can make the experience even more engaging.
What are the basic methods of clay modelling?
Some of the most common beginner techniques include pinching, coiling, slab construction, and texturing. These simple methods provide the foundation for creating everything from bowls and ornaments to animals and decorative sculptures.
How do you introduce clay to preschoolers?
Keep the first session simple and pressure free. Give each child a small amount of clay and encourage them to squeeze, roll, flatten, and explore before asking them to create specific objects. The goal is to help them become comfortable with the material.
Why is clay valuable in early childhood education?
Clay modelling supports physical, cognitive, emotional, and creative development at the same time. As children shape and manipulate clay, they strengthen hand muscles, improve coordination, build confidence, express ideas, and learn through exploration, making it a valuable addition to any preschool learning environment.










Subscribe to our newsletter
[contact-form-7 id="12706" title="Newsletter Form for post page"]Our Related Blogs
Yoga Benefits, Activities, and Poses for Preschoolers
For preschoolers, yoga isn’t about perfection but about giggles and benefits. So, are you curious how a simple stretch can support a child’s focus, flexibility, and emotional well-being? Let’s roll...
Year-End Reflection and Goal Setting for Children
Parenting is a journey filled with the brightest moments and valuable lessons, both for us and our children. As the year draws to a close, it’s the perfect time to...
Work-Life Balance Solutions for Parents in Emerald Hills Rd, Sector 65, Gurugram: The KLAY Daycare Advantage
Finding the perfect balance between professional commitments and parenting is a challenge for many working families in Gurugram. Parents in Emerald Hills Rd, Sector 65, especially, look for childcare solutions...