



 76767 08888



Key Takeaways:
- Paper-tearing activities help preschoolers develop fine motor skills, hand-eye coordination, bilateral coordination, concentration, and creativity.
- Children can tear, paste, sort, layer, roll, and arrange different types of paper to explore colours, shapes, and textures.
- Parents and educators can adjust the size and type of paper according to a child’s age and current abilities.
- Simple materials such as coloured paper, old magazines, glue, and chart paper are enough to create several engaging activities at home or in the classroom.
Give a preschooler a sheet of paper, and chances are they will find tearing it far more exciting than you expected.
The good news? This seemingly simple activity can become an engaging learning experience for them.
What Is a Paper-Tearing Activity?
Paper tearing is a simple hands-on activity in which children can use their fingers to rip paper into pieces, strips, or different shapes. These pieces can then be sorted, arranged, pasted, or used to create artwork.
This low-cost, simple activity helps young children practise coordinating both of their hands, control their finger movements, and develop finger strength. All of these skills are important for preschoolers later when they learn how to write.
How to Introduce Young Children to Paper Tearing & Pasting Activities: Step-by-Step
A paper tearing and pasting activity is easy to set up at home or in the classroom. The key is to prepare materials that young children can handle comfortably, demonstrate the techniques clearly, and then give them enough freedom to experiment.
Step 1: Prepare Paper Strips
Cut or tear coloured paper, old magazines, or any other paper into wide strips that are easy for small hands to hold. Young children may find thicker strips easier to grip and tear.
Step 2: Demonstrate the Paper Tearing Technique
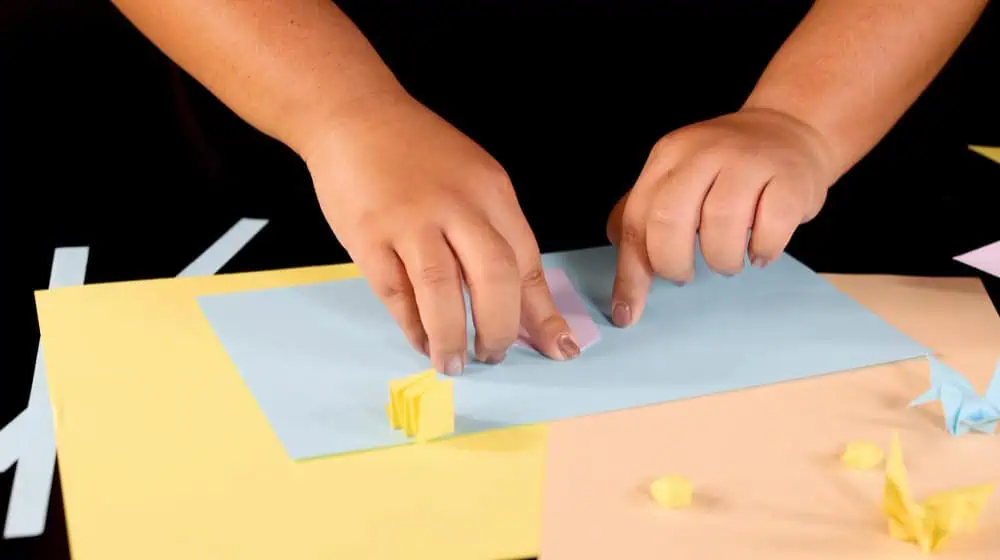
Show children how to hold the edge of the paper between the thumb and index finger of both hands.
Keep the hands close together, hold the paper steady with one hand, and pull the other hand gently in the opposite direction to create a tear.
Step 3: Tear & Sort the Paper Pieces
Encourage children to tear the strips into smaller pieces of different sizes and shapes. They can also sort the scraps by colour, size, or texture. This can make learning shapes and colours fun for them.
Step 4: Arrange the Torn Pieces
Draw a simple outline of a flower, tree, mango, animal, or another familiar object on the base paper. Let children arrange the torn pieces inside the outline before pasting them so they can experiment with colours and patterns.
Step 5: Glue & Paste the Pieces
Help children apply a small amount of glue inside the outline and paste the torn pieces one at a time. Encourage them to continue until the shape is filled, and then leave the finished paper-tearing art to dry.
14 Creative Paper-Tearing Activities Preschoolers Can Try
Once children understand the basic paper-tearing technique, it’s easier to make activities fun for them. Here are 14 ideas that parents and educators can try.
1. Explore a Paper Tearing Sensory Bin
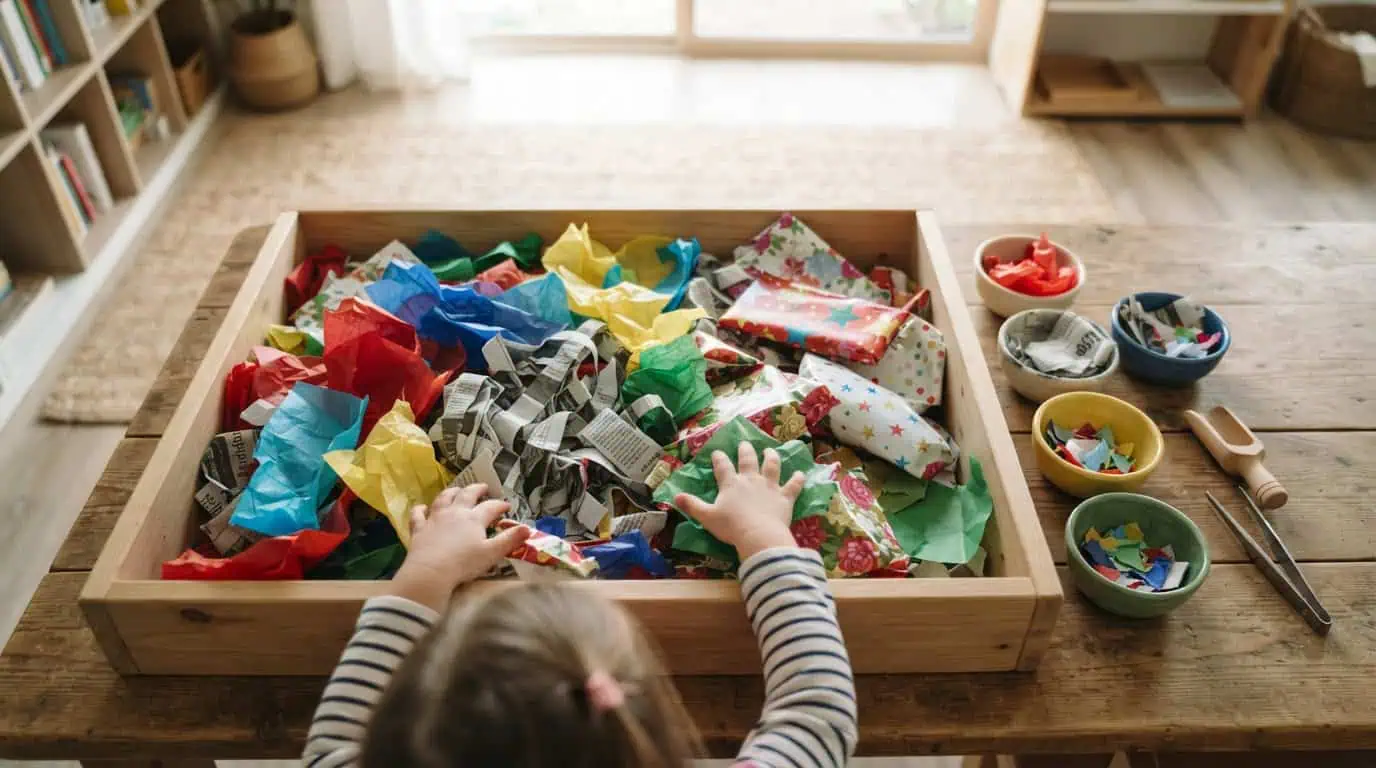
Materials Needed: Different types of paper, a bin or a container with a shallow and wide base, and small bowls.
How to Do It:
- Fill a container with untorn tissue paper, newspaper, coloured paper, wrapping paper, and other safe paper materials.
- Let children touch, crumple, and tear each type before sorting the pieces into bowls.
2. Fill Pictures with Torn Paper
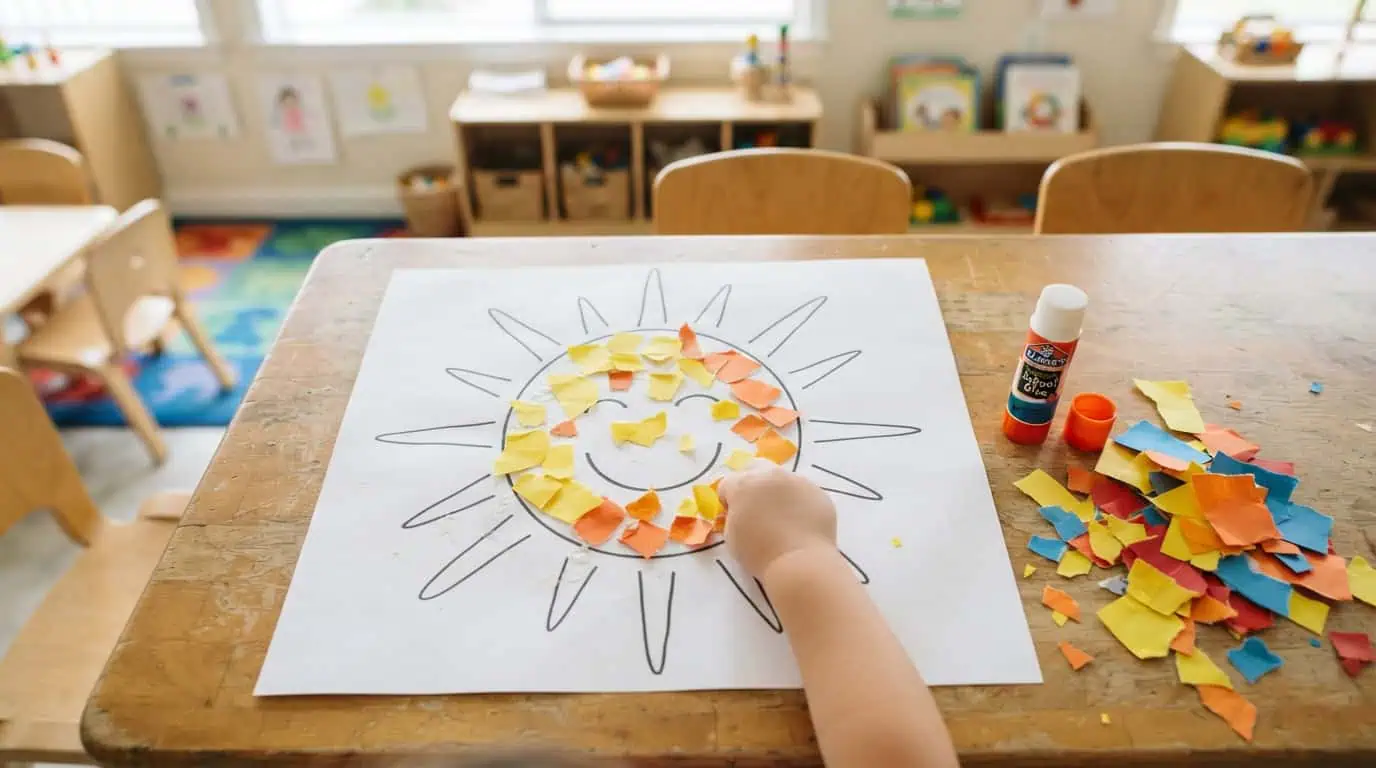
Materials Needed: Coloured paper, printed or hand-drawn pictures, and child-safe glue.
How to Do It:
- Draw or print a large, simple picture and ask children to tear paper into small pieces.
- They can then paste the pieces inside the outline until the picture is completely filled.
- This easy paper tearing and pasting activity works well for nursery-aged children who are beginning to practise controlled hand movements.
3. Build Letters with Torn Paper
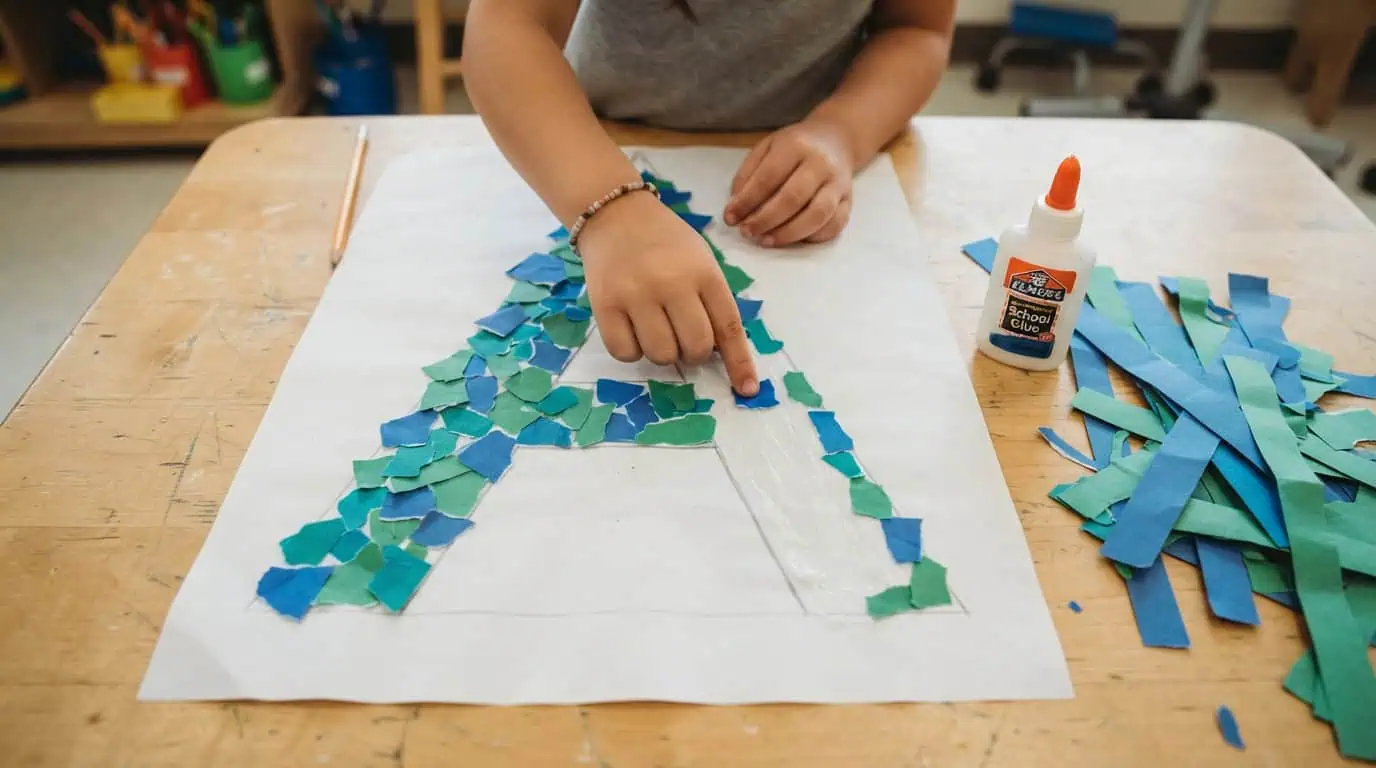
Materials Needed: Chart paper, coloured paper, pencil, and glue.
How to Do It:
- Draw a large letter on chart paper.
- Ask children to tear small pieces of paper.
- The child can then cover or trace the letter with the bits of torn paper.
4. Create Layered 3D Paper Art
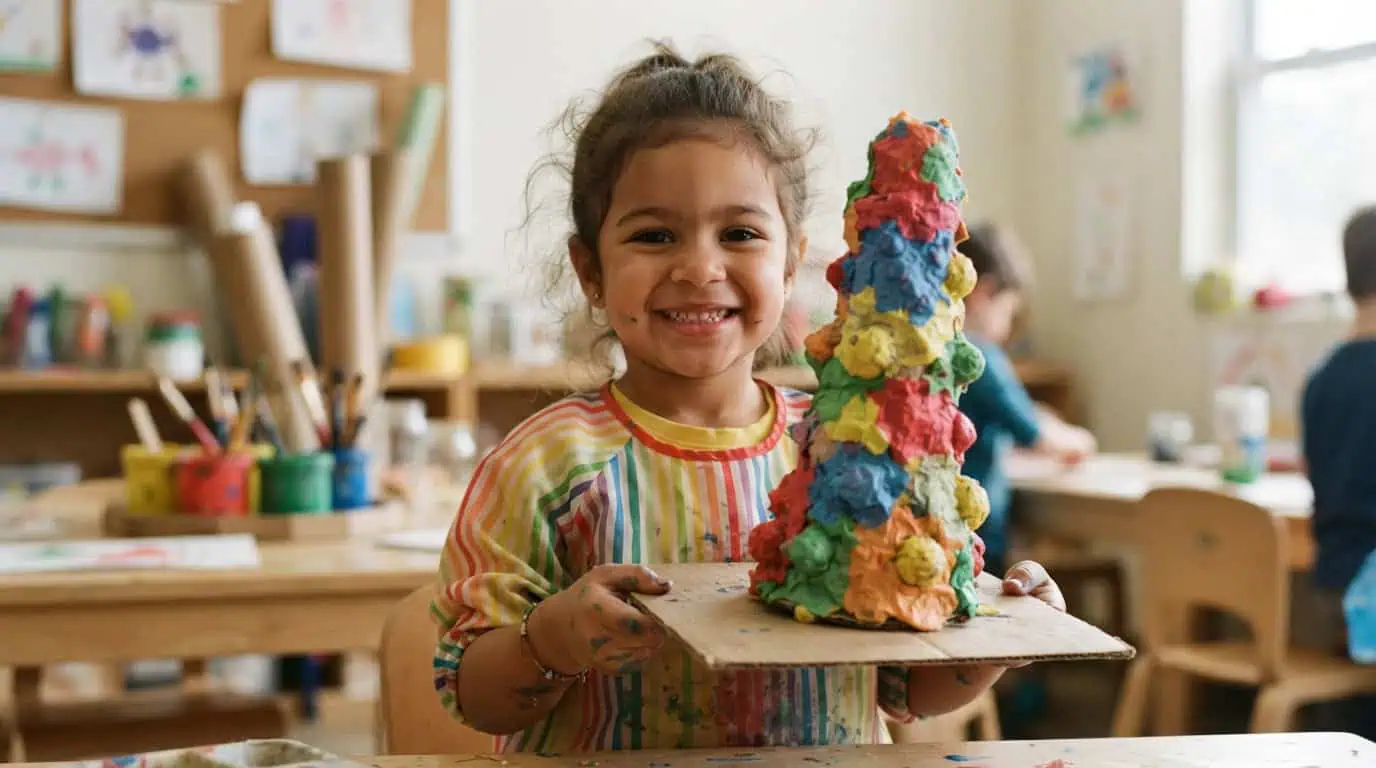
Materials Needed: Tissue paper, glue, water, cardboard, a bowl, and a spoon.
How to Do It:
- Ask your child to tear the tissue paper into small pieces and place them in a bowl.
- Add a little glue and water, then help them mix everything until it forms a thick pulp.
- Let your child spoon the mixture onto cardboard and shape it into a tower, animal, flower, or any other simple 3D creation.
- Leave the artwork to dry completely before displaying it.
5. Make a Free-Choice Paper Collage
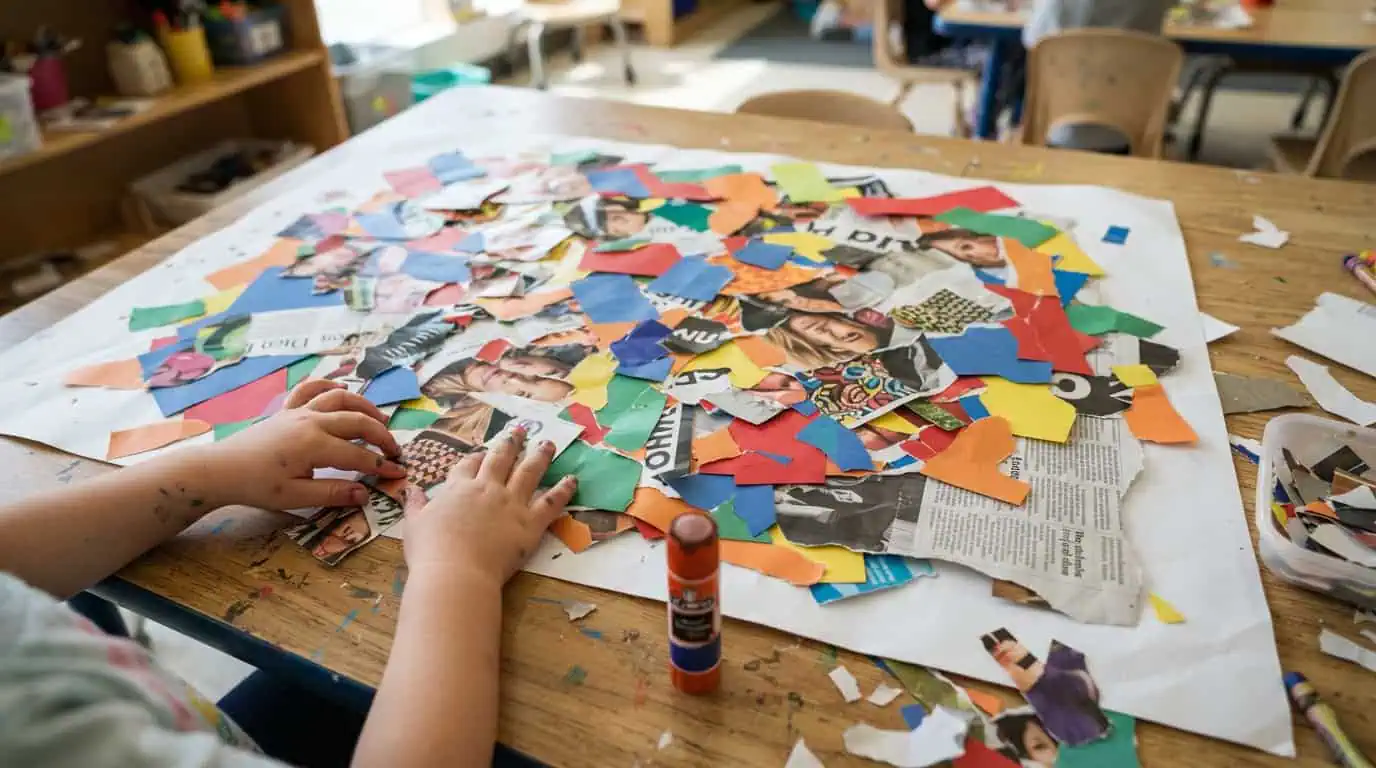
Materials Needed: Old magazines, coloured paper, newspapers, chart paper, and glue.
How to Do It
- Give children different types of paper and let them tear and arrange the pieces however they like.
- They can create an abstract design or turn their collage into a picture.
6. Finish an Incomplete Picture
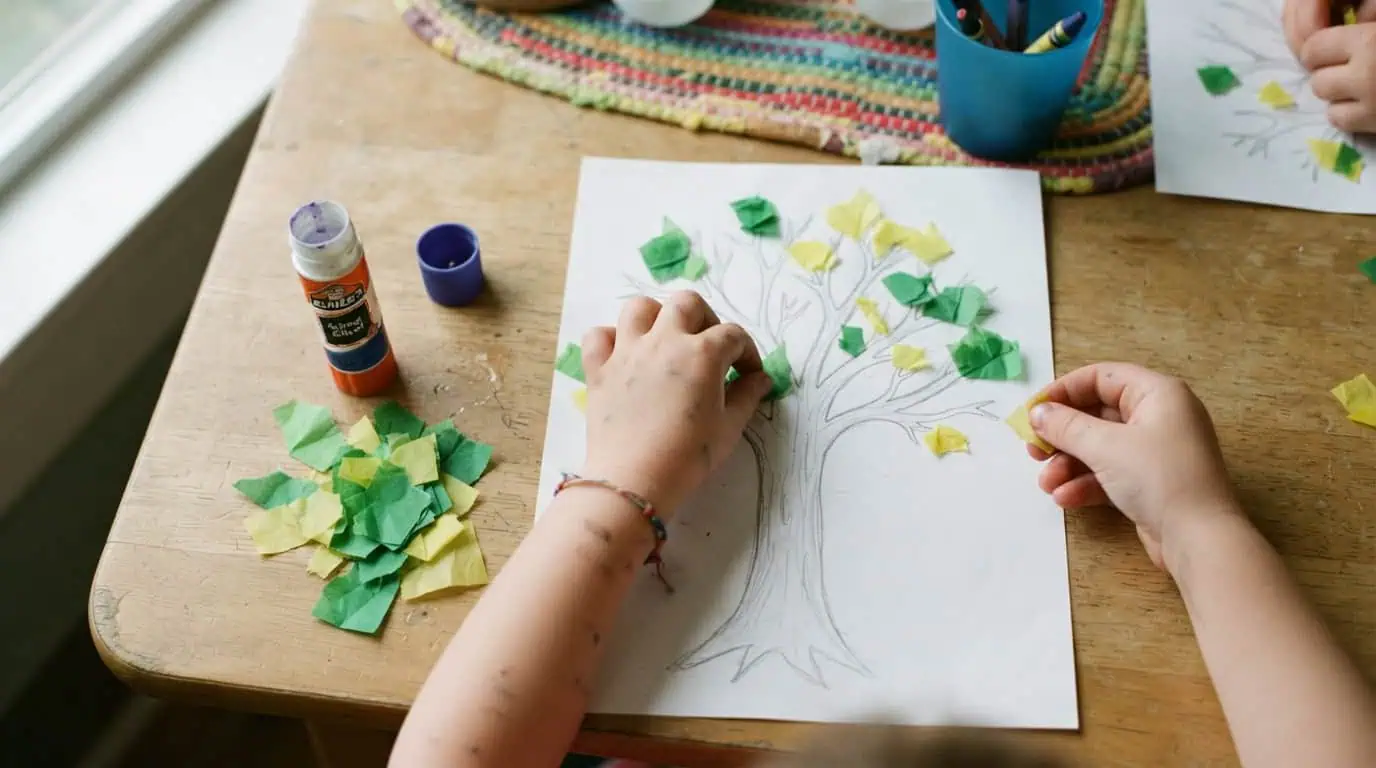
Materials Needed: Partially drawn pictures, coloured paper, and glue.
How to Do It:
- Draw part of a familiar object, such as half a butterfly, a tree without leaves, or a fish without scales.
- Ask children to use torn paper to complete the missing parts.
7. Tear Paper into Simple Shapes
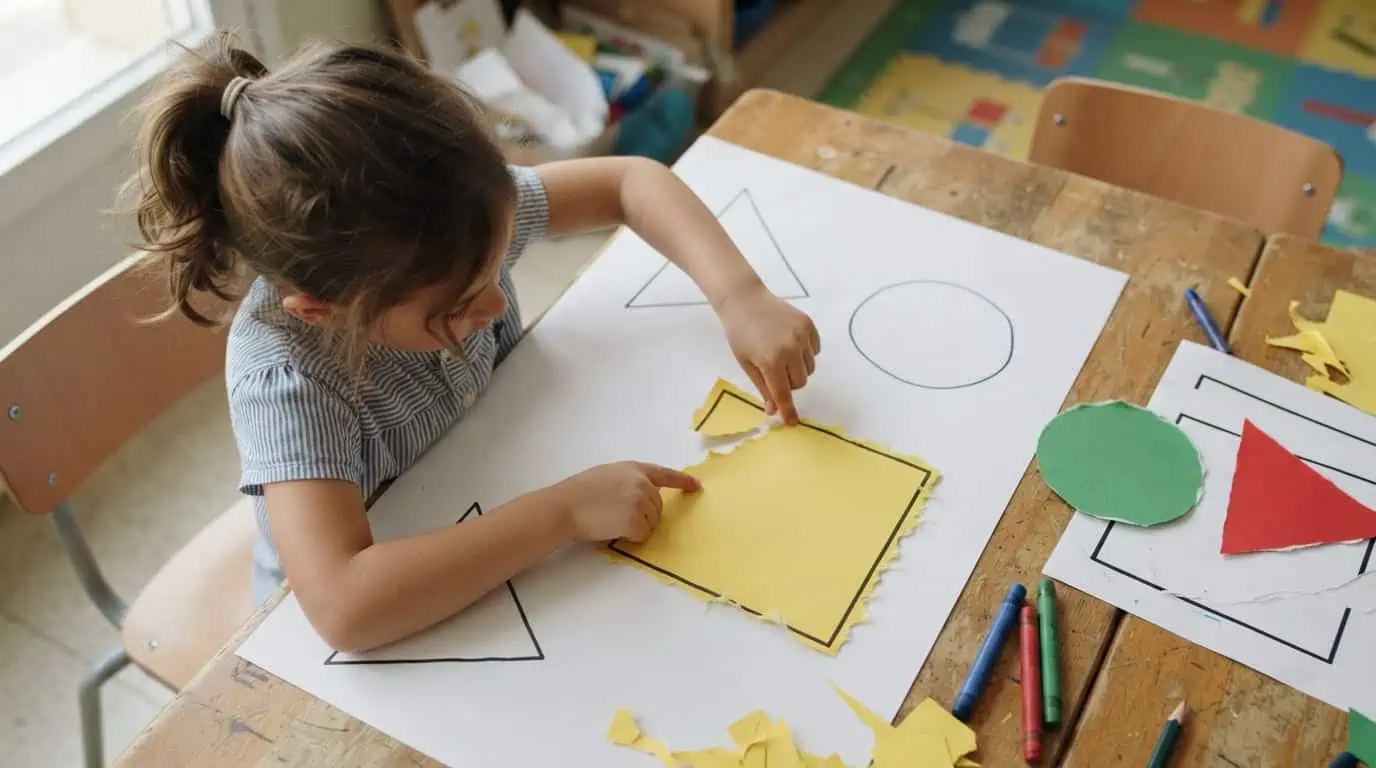
Materials Needed: Coloured paper and large shape templates.
How to Do It:
- Draw a simple shape, like a circle, triangle, or square, on a sheet of paper.
- Ask the child to tear the paper carefully along the lines without using scissors.
- This simple paper-tearing activity can help them strengthen their motor skills and hand-eye coordination.
8. Roll Torn Paper into Beads
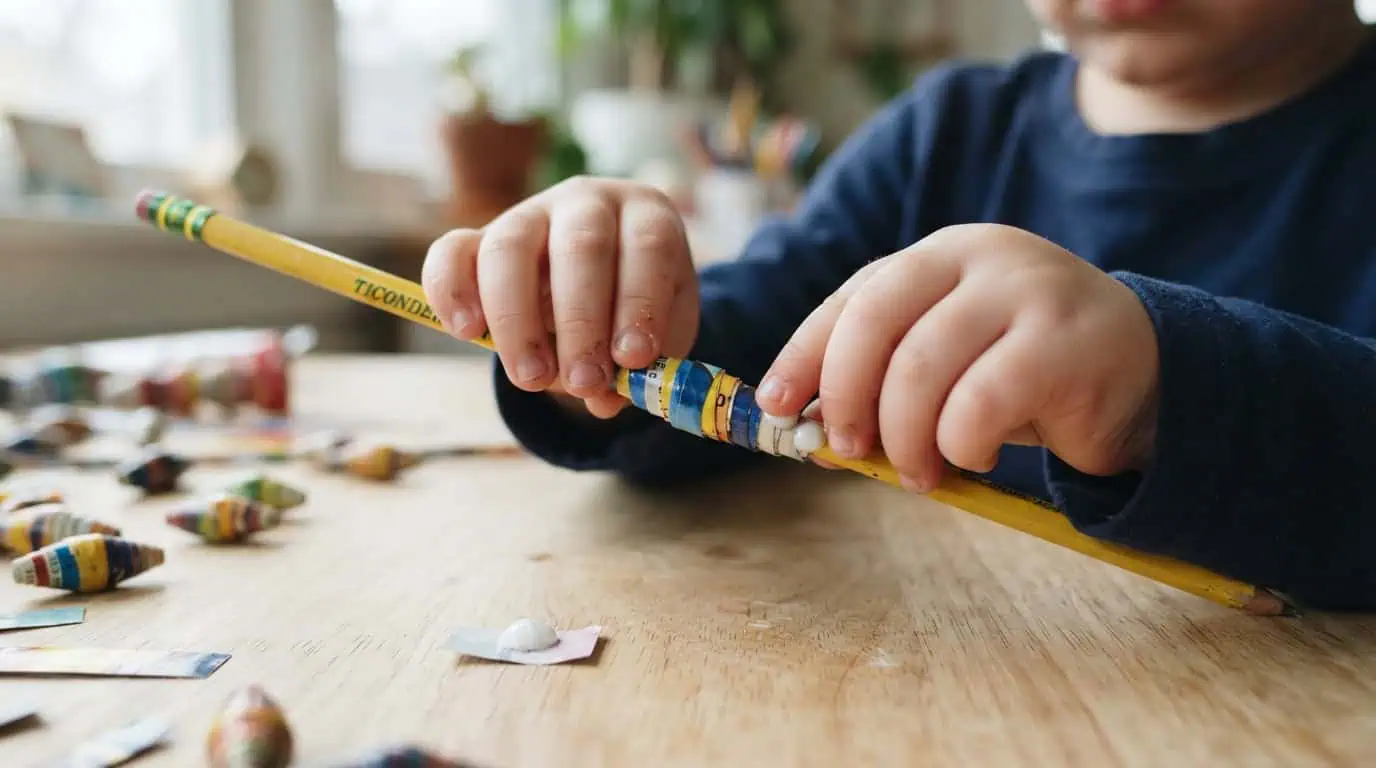
Materials Needed: Magazine paper or coloured paper strips, child-safe glue, string, and adult supervision.
How to Do It:
- Help children tear paper into long strips and roll each strip tightly around a pencil or straw.
- Glue the loose end, allow the beads to dry, and thread them onto a string to create simple paper jewellery.
9. Sort & Tear Different Papers
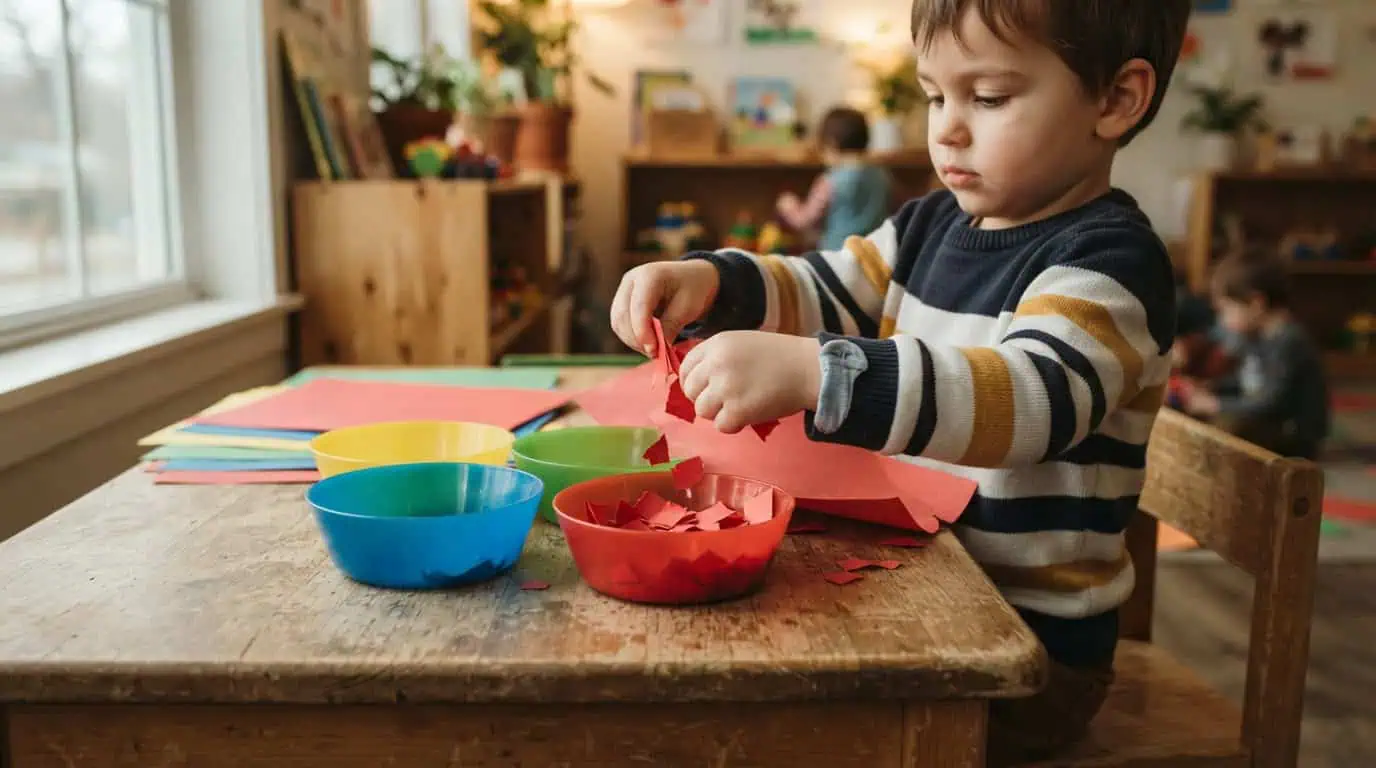
Materials Needed: Coloured paper sheets and bowls or containers in matching colours.
How to Do It:
- Arrange the coloured bowls in a row and give your child paper sheets in the corresponding colours.
- Ask them to match each sheet to the correct bowl first.
- Once matched, encourage them to tear the paper into small pieces and drop them into the matching bowl. Repeat until all the paper has been sorted and torn.
10. Create Paper Snowflakes
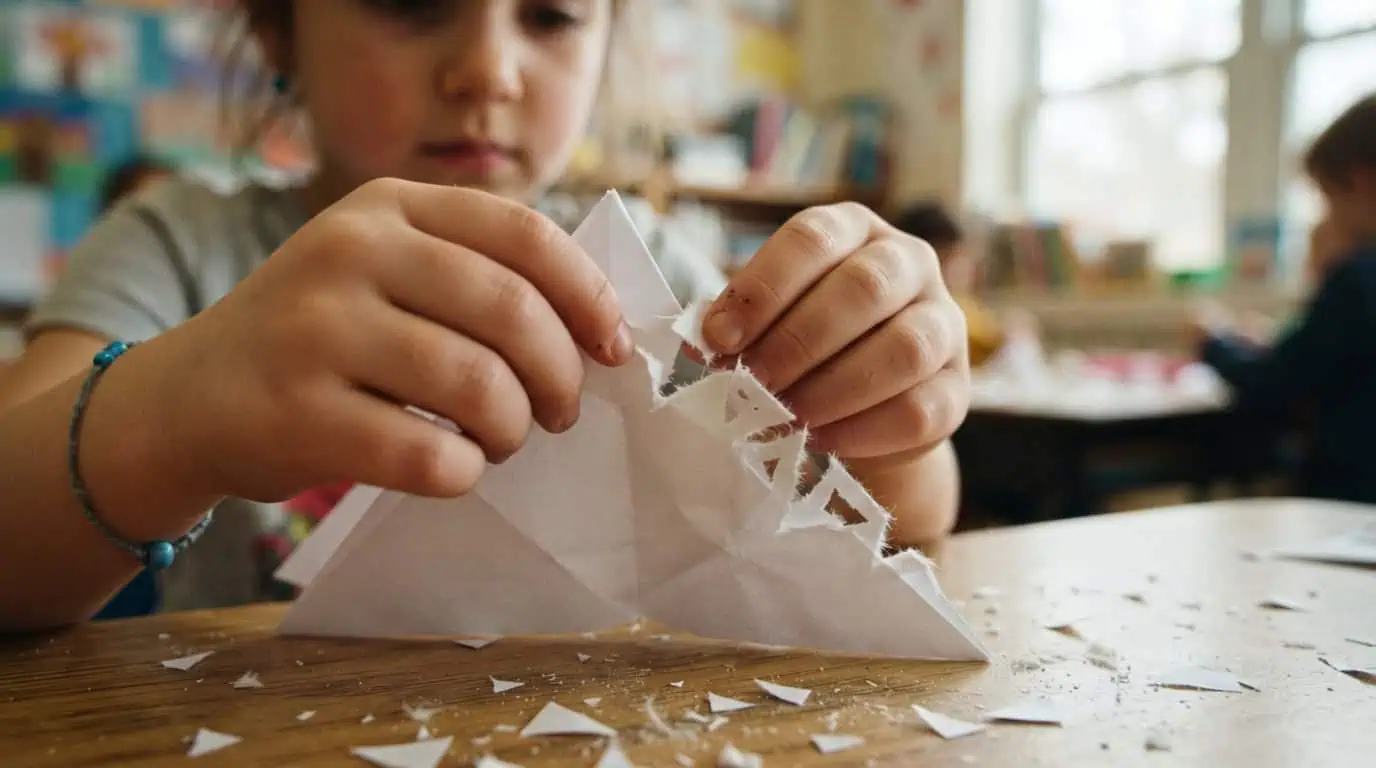
Materials Needed: Thin paper and a pencil (optional).
How to Do It:
- Fold a square sheet of paper into a small triangle by folding it in half two or three times. If needed, lightly sketch simple shapes along the folded edges to guide younger children.
- Encourage your child to carefully tear small triangles, curves, or zigzag shapes from the folded edges and remove a small piece from the pointed tip.
- Once finished, gently unfold the paper to reveal a unique paper snowflake.
11. Grow a Colourful Paper Garden
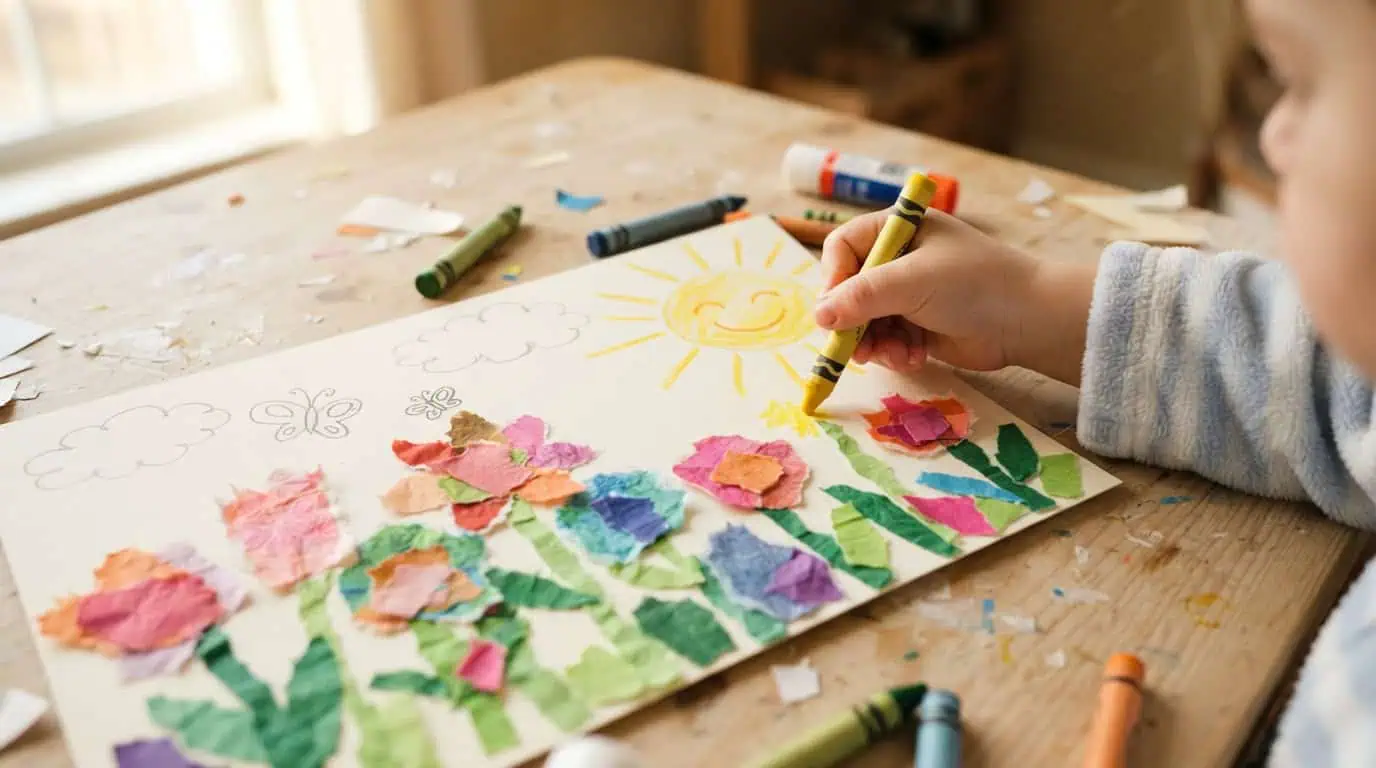
Materials Needed: Coloured construction paper or scrap paper, white or light-coloured chart paper, glue, and crayons or sketch pens (optional).
How to Do It:
- Give your child a sheet of chart paper as the base for their garden.
- Ask them to tear green paper into long strips for grass and stems, and colourful paper into smaller pieces for flowers and leaves.
- Encourage them to arrange the torn pieces to create their own garden before gluing everything in place.
- Once the collage has dried, they can use crayons or sketch pens to add details such as the sun, butterflies, bees, or clouds.
12. Design a Torn Paper Mosaic
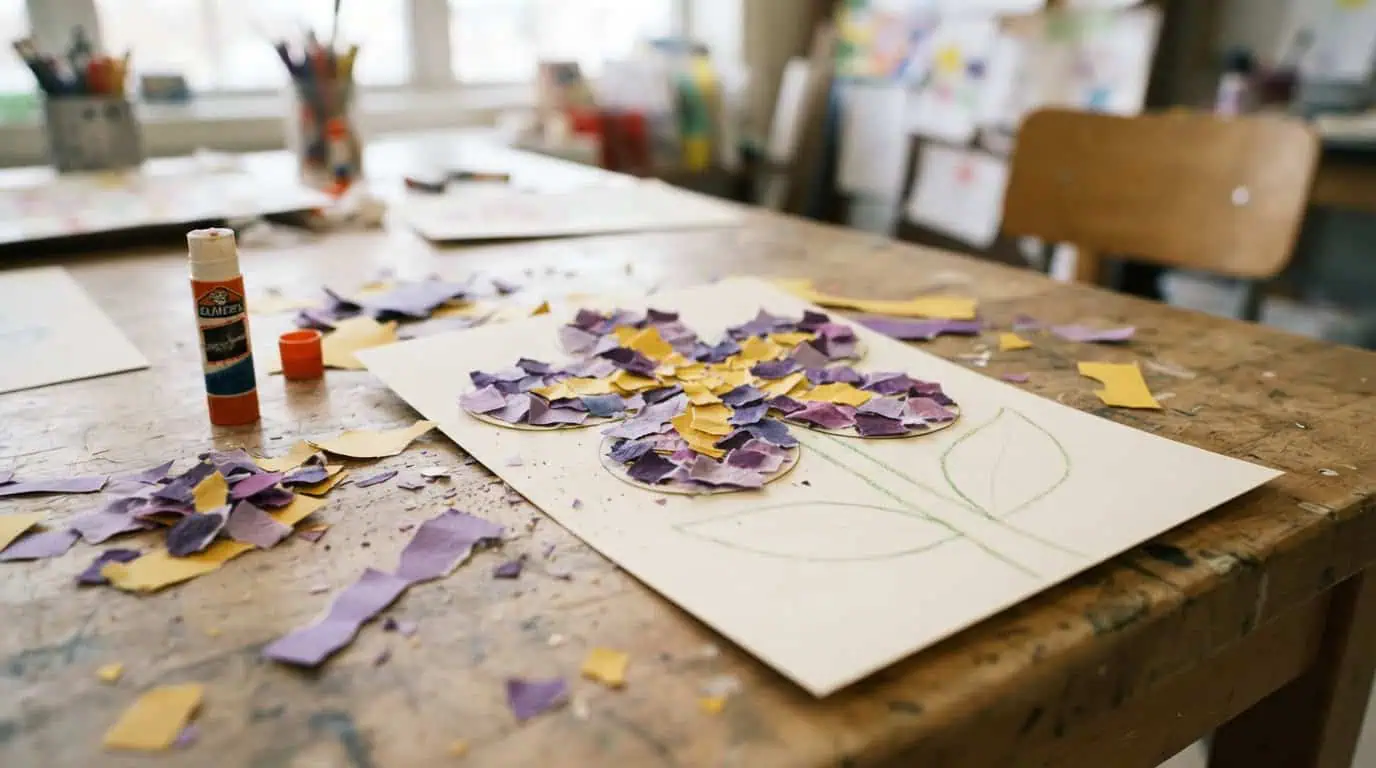
Materials Needed: Chart paper or cardstock, coloured paper or old magazines, glue, and a pencil or black marker.
How to Do It:
- Draw a simple outline, such as a flower, fish, apple, or a letter, on the base paper.
- Ask the child to tear coloured paper into small pieces and, if needed, sort them by colour.
- Apply glue to one section of the outline at a time, then encourage your child to paste the torn pieces close together, leaving tiny gaps between them to create a colourful mosaic effect. Continue until the entire design is filled.
- A paper-tearing art activity like this encourages children to plan where they want to place each piece while still allowing room for creativity.
13. Decorate a Paper Lantern
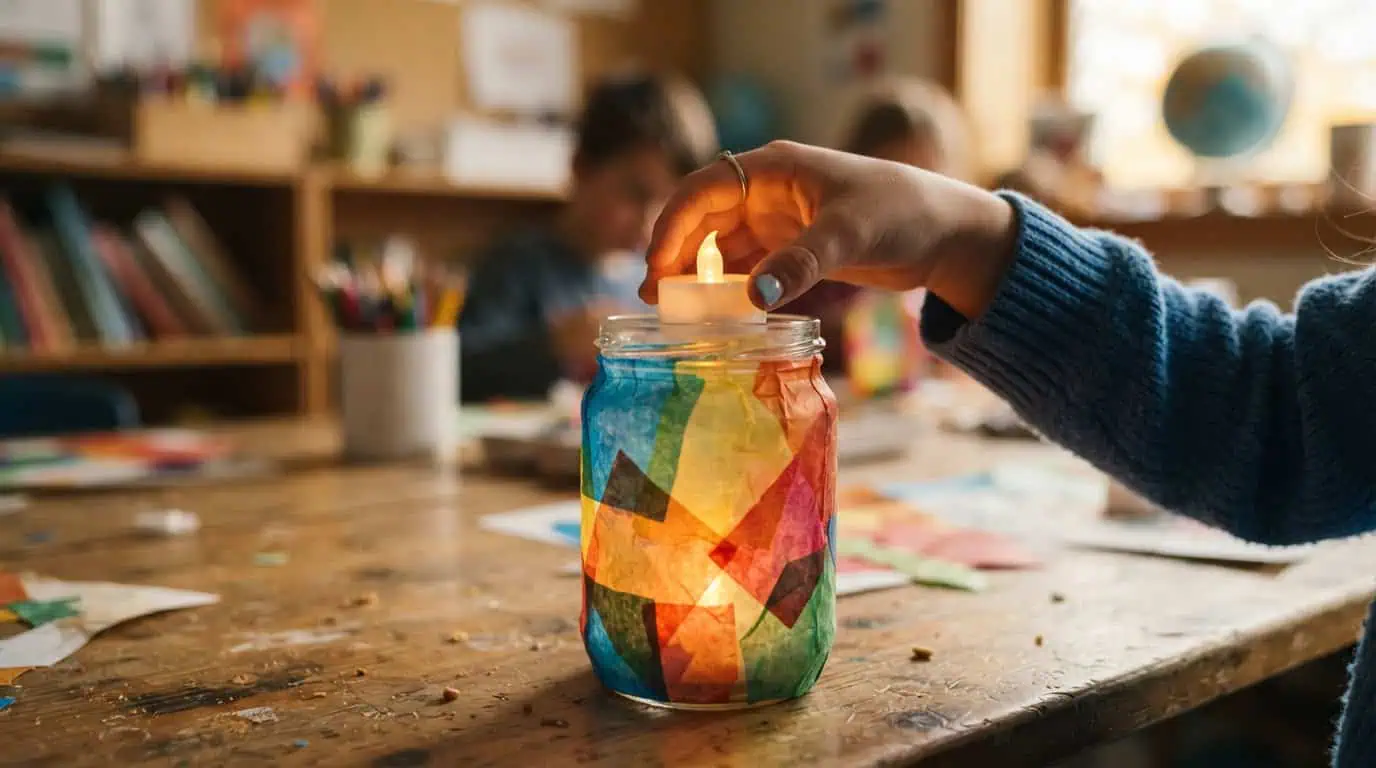
Materials Needed: A clean glass jar or clear plastic container, coloured tissue paper, glue (or a glue-and-water mixture), a paintbrush, and a battery-operated LED tea light.
How to Do It:
- Encourage your child to tear coloured tissue paper into small pieces.
- Apply a thin layer of glue to the outside of the jar or container, then help them stick the torn pieces all over the surface, allowing some colours to overlap for a stained-glass effect.
- Once the entire surface is covered, brush on another light layer of glue to seal the pieces and leave it to dry.
- When finished, place a battery-operated LED tea light inside to create a colourful paper lantern.
14. Make a Torn Paper Pinwheel
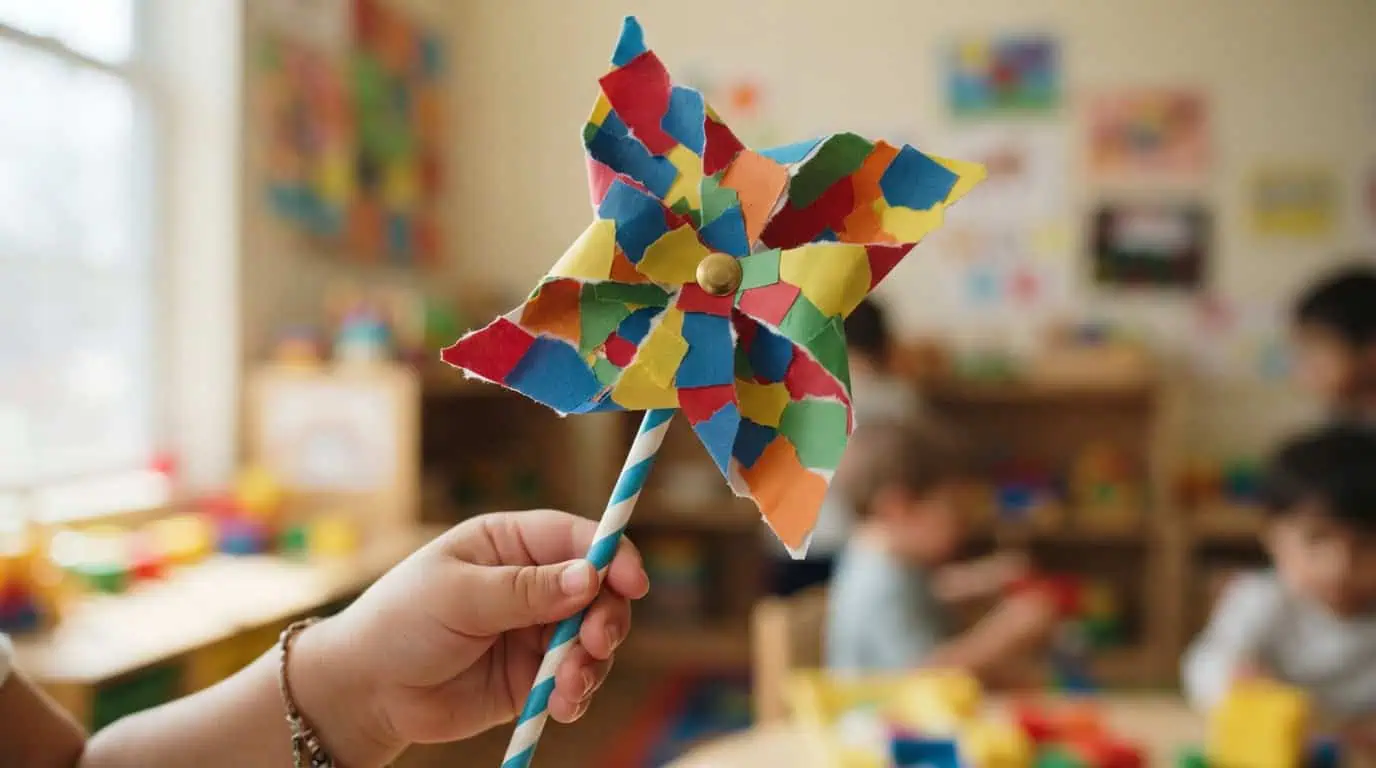
Materials Needed: Two sheets of coloured construction paper, a paper or plastic straw, glue, a paper fastener, a ruler, and a pencil.
How to Do It:
- Help your child tear one sheet of coloured paper into small pieces and glue them onto the second sheet to create a colourful textured design.
- Once the glue has dried, cut or tear the decorated paper into a square and make four diagonal slits from each corner towards the centre, leaving a small gap in the middle.
- Fold every alternate corner into the centre and secure them with a paper fastener attached to a straw, leaving enough space for the pinwheel to spin freely.
What Are the Benefits of Paper-Tearing Activities for Preschoolers?
A paper-tearing activity might be one of the simplest ways for your child to practise several early developmental skills at the same time. Here’s how:
1. Strengthens Fine Motor Skills
Pinching, pulling, picking up small pieces, and pasting paper require controlled movements of the fingers and hands. These actions can help children strengthen fine motor skills they use for activities such as drawing, buttoning clothes, and handling everyday objects.
2. Encourages Thinking & Problem-Solving
Children make several small decisions while working with torn paper. They decide how large a piece should be, where it should go, which colour to use, and how to fill an empty space.
These choices encourage planning, experimentation, and problem-solving.
3. Improves Hand-Eye Coordination
As the child picks up small torn pieces, applies glue, and places them within a shape or pattern, they learn to coordinate what their eyes see with how their hands move.
Over time, this improves their accuracy and coordination during creative activities and everyday tasks.
4. Develops Bilateral Coordination
Paper-tearing activities require one hand to hold and stabilise the paper while the other hand pulls and controls the tear.
This helps kids practise their bilateral coordination, which involves using both sides of the body together to complete a task.
5. Gives Children Room to Become Creative
There is no single correct way to make paper-tearing art.
Children can experiment with colours, shapes, arrangements, and textures, giving them the freedom to make choices and express their own ideas.
6. Introduces Different Sensory Experiences
Smooth magazine pages, soft tissue paper, rough cardboard, and crinkly wrapping paper all feel and sound different when children touch and tear them.
Using a variety of materials can turn paper tearing into one of several simple sensory activities for preschoolers that encourage them to explore through touch, sound, and movement.
7. Builds Finger Strength & Dexterity
Controlled tearing requires children to pinch the paper, maintain their grip, and move their fingers in different directions.
These repeated movements help kids develop finger strength, dexterity, and control.
Simple Safety Tips for Parents & Educators
Paper tearing is generally a simple activity, but young children still need appropriate materials and supervision.
- Choose paper that is clean, easy to handle, and suitable for your child’s age.
- Use child-safe, non-toxic glue for pasting activities.
- Supervise activities that involve small paper pieces, especially with young children who may put objects in their mouths.
- Keep scissors, staplers, tracing wheels, and other sharp tools away from young children unless they are closely supervised.
- Avoid glitter and very small decorative materials with children who may put them in their mouths.
- Let children tear at their own pace rather than expecting neat or identical pieces.
- Protect tables and floors with newspapers, mats, or washable covers when using glue and art materials.
- Encourage children to wash their hands after activities involving glue, glitter, ink, or old printed materials.
Let Children Tear, Paste, Explore, & Create!
A paper-tearing activity doesn’t need expensive art supplies. With a few sheets of paper and a little imagination, children can create pictures, collages, mosaics, letters, animals, and plenty more.
More importantly, every pinch, pull, tear, and paste gives young children another opportunity to practise using their hands, coordinate their movements, solve small problems, and express their ideas.
At KLAY, children learn through age-appropriate play, exploration, and hands-on experiences that make learning meaningful and enjoyable. Visit your nearest KLAY centre to discover how thoughtfully planned learning experiences can support your child’s development during the early years.
FAQs
1. Is paper-tearing a sensory activity?
Yes. Paper-tearing provides sensory experiences as children touch, hear, and manipulate materials with different textures.
2. How can I make paper easier for young children to tear?
Start with thin paper, tissue paper, newspaper, or lightweight coloured paper. You can also make a small tear at the edge of the sheet to give beginners an easy starting point. Avoid giving preschoolers sharp tools simply to make paper easier to tear.
3. Why is tearing paper good for children?
Tearing paper requires children to grip, pinch, pull, and coordinate both hands. These movements give them opportunities to practise hand strength, dexterity, hand-eye coordination, and controlled finger movements.
4. What skill does tearing paper develop?
Tearing paper primarily helps children develop fine motor control and bilateral coordination. It also involves hand-eye coordination, finger strength, concentration, and precision.
5. What is paper-tearing art?
Paper-tearing art is a form of craft in which pieces of paper are torn by hand and arranged or pasted to create pictures, patterns, collages, and other designs.
6. Which type of paper is best for paper-tearing activities?
Lightweight coloured paper, tissue paper, newspapers, old magazines, wrapping paper, and scrapbook paper can all be used. Beginners may find thinner paper easier to tear, while thicker paper can provide more resistance as their hand control improves.
7. Why do young children enjoy tearing paper?
Tearing paper gives children an immediate result from their actions and lets them explore sound, texture, and movement. It also gives them freedom to experiment without worrying about creating a perfect final product.








Subscribe to our newsletter
[contact-form-7 id="12706" title="Newsletter Form for post page"]Our Related Blogs
Yoga Benefits, Activities, and Poses for Preschoolers
For preschoolers, yoga isn’t about perfection but about giggles and benefits. So, are you curious how a simple stretch can support a child’s focus, flexibility, and emotional well-being? Let’s roll...
Year-End Reflection and Goal Setting for Children
Parenting is a journey filled with the brightest moments and valuable lessons, both for us and our children. As the year draws to a close, it’s the perfect time to...
Work-Life Balance Solutions for Parents in Emerald Hills Rd, Sector 65, Gurugram: The KLAY Daycare Advantage
Finding the perfect balance between professional commitments and parenting is a challenge for many working families in Gurugram. Parents in Emerald Hills Rd, Sector 65, especially, look for childcare solutions...